DIY FiloFax Planner
I saw these sweet little filofax planner pages for free on MyGirlThursday and just had to have my own filofax planner. But, being me, didn’t want to pay much for one.
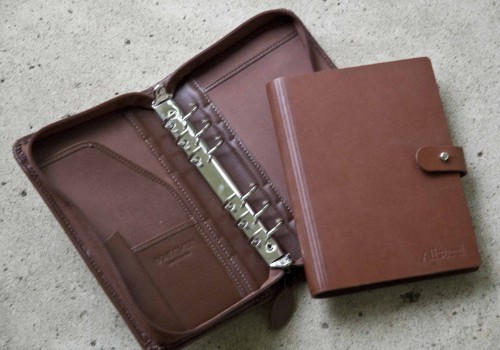
My sister gave me the notebook on the right, a very nice leather journal filled with graph paper (love!).
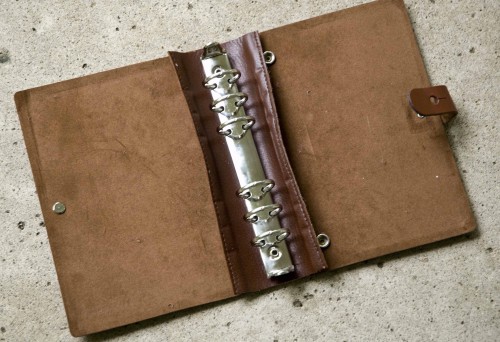
On the left is an old planner I picked up from the salvation army for $1.75 (it was half price day). I used a seam ripper to remove the binder rings.
Sweet. So easy!
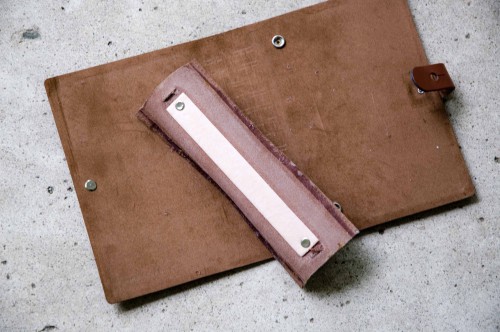
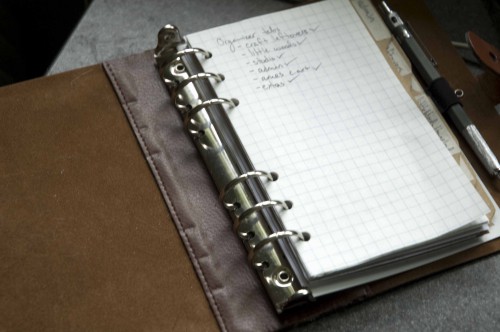
Now, how to bring it together? First I cut it down to size so it fit into the leather journal (graph paper removed). Then I tried the old stand-by: hot glue. That actually didn’t work at all and peeled right off. Then I tried super glue (also didn’t work). And then I stopped being so “quick and easy” and just sewed it into place using a leather needle, needle nose pliers, and a metal thimble. Sure it took a little longer, but it looks nice and it will hold up over time.
I used a piece of hard plastic to make a hole punch template. It was a fun time cutting and punching a bunch of graph paper, plain card stock, and fun little organizational pages.
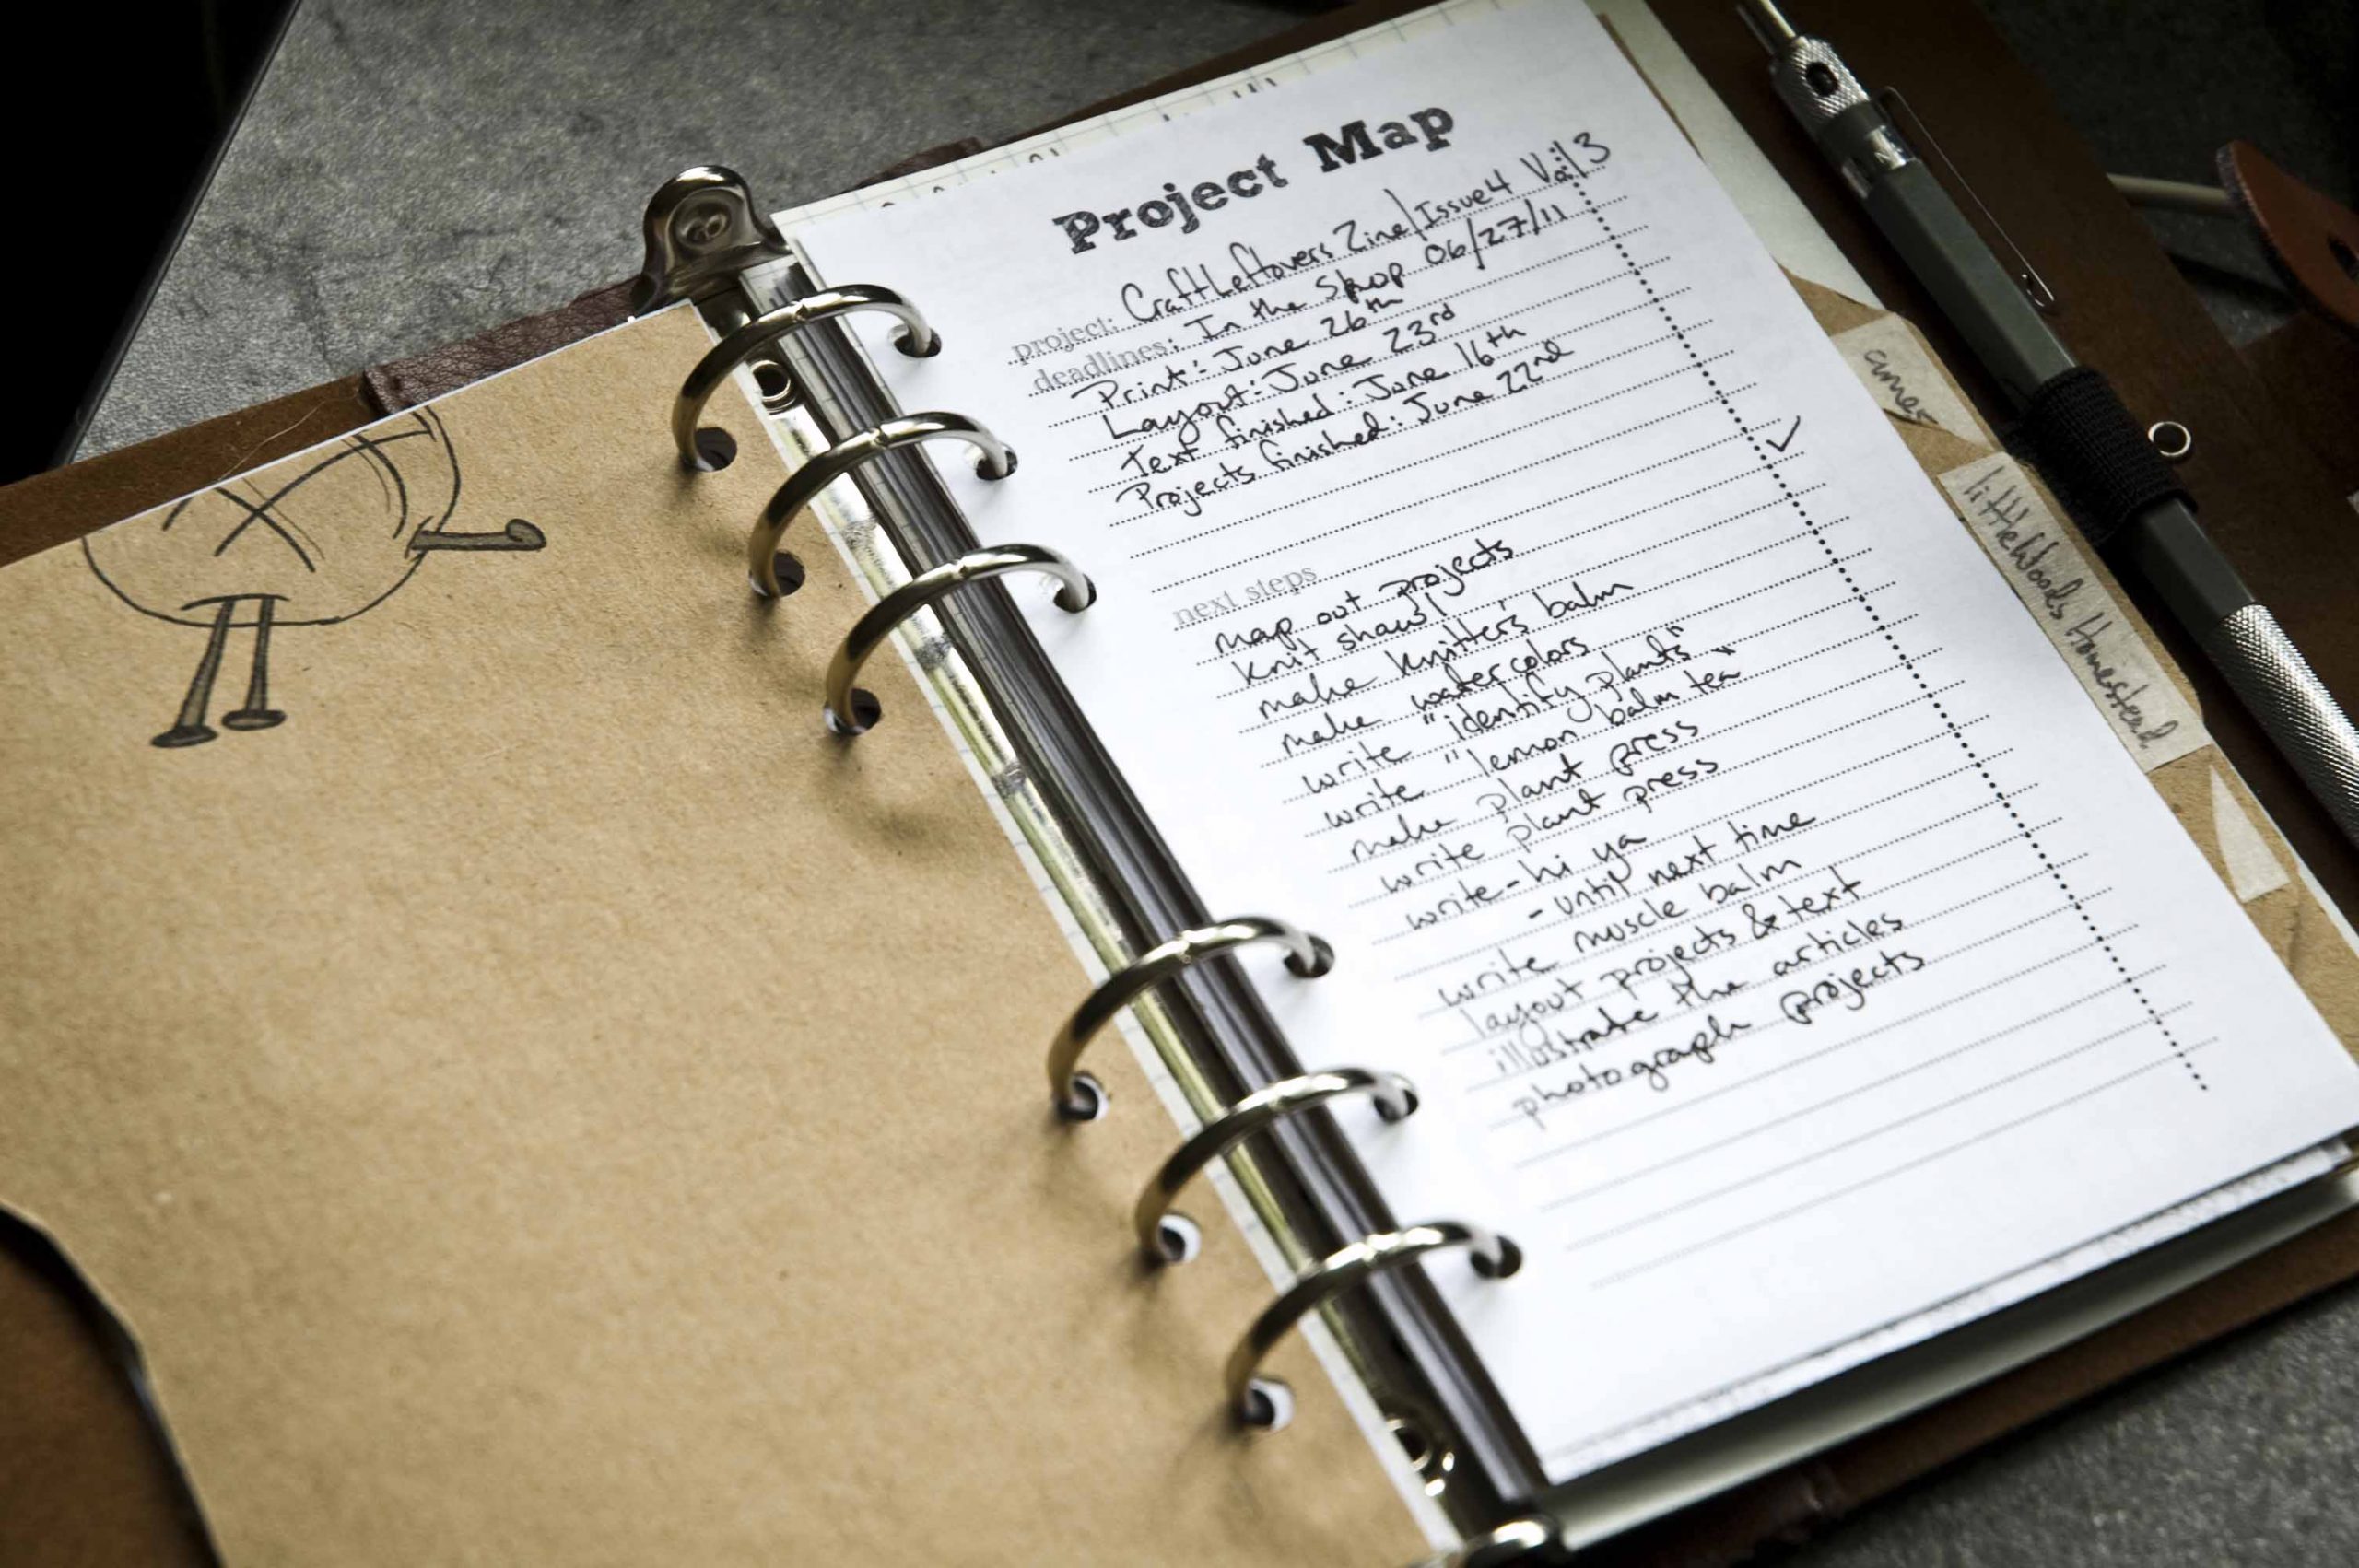
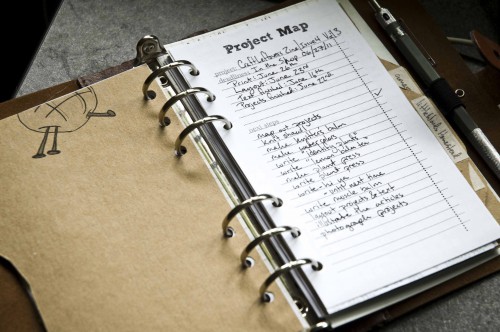
Like this project mapping page I made. I love the little elastic band that holds my pencil.
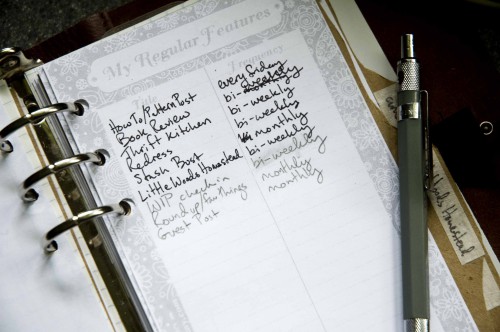
And those sweet filofax planner pages that got this whole project started in the first place.
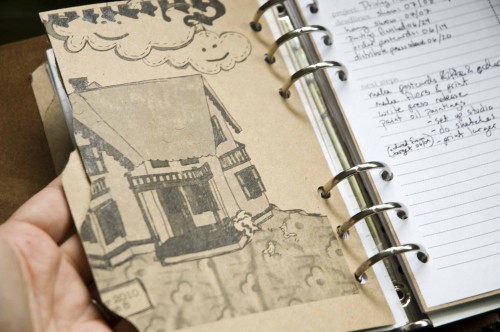
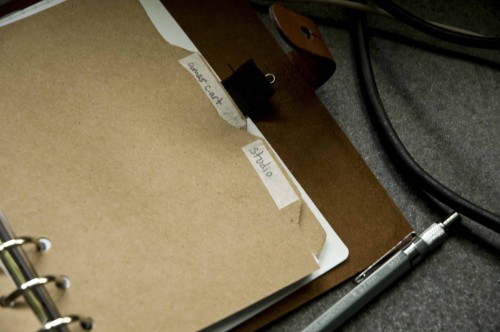
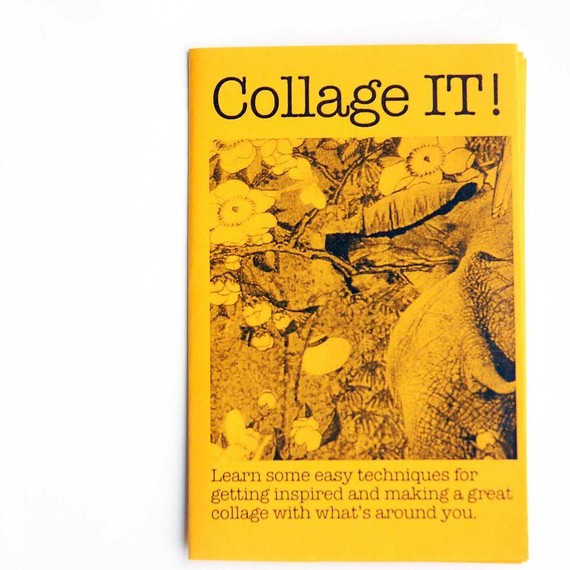
I used mis-printed cl zine covers to make the dividers.
And a little masking tape so the names popped out a little more.
Tomorrow I’ll package up my planner pages and make them available as a download. Here are the free downloadable planner pages. It’s only fair since freebie print outs where how this whole obsession was started!
Until Next Time!
Happy Crafting!
Kristin

I love planners! I never use them, but I love them anyway :)
Wow that look so nice ! Love this :)
hi is there a way i can contact you?