How to: Mat your work!
Getting your work matted and framed adds a level of professionalism to your work. It gives small intimate pieces a more dynamic presence in a large room. But… it’s expensive! Last month I showed you how to take an old beat up frame and really make it shine through fixing loose joins, sanding, and restaining. Today, I want to show you how to finish your piece with a nice, well cut mat.
A pre-cut mat will set you back $2-$4 depending on the size. They are great for photographs, you can get standard sizes that work perfectly for 4×6″ and 8×10″ prints, but my work is rarely falls into standard sizes that mats are precut to, so I almost always need a custom cut.
Custom=high price.
That $2 mat all of a sudden turns into $5-10. Yikes. When we are talking about matting a print that I’m planning on selling for $30 with a mat, that’s quite the overhead cost increase. Screw that!
Here’s how I mat my prints (and originals) and how you can too!
Matting 101
Supplies
- mat board – gray, black, or white is the best way to go
- archival artist tape – 1/2″ wide
Tools
- x-acto knife with fresh blades
- steel ruler
- T-square
- mat cutter – often art departments of local community colleges will have one you can go in and use, check your local art center, they may let you rent out the space/time on the mat cutter. Our local workspace charges $3 and you can use it for the day (first come first serve). Or if you cut a load of mats, you can invest in one of your own for about $90. I got one on sale for $50 back in the day and it’s served me well.
- pencil
- cutting mat
Making Measurements
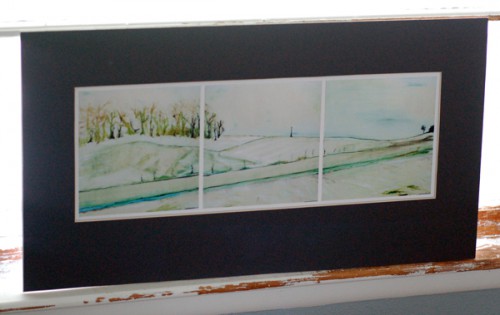
First, I measure the art work to be matted. Mine was 8.75×20″.
Then add a 1/4″ to all sides: 9.25×20.5″ for the window.
I generally like even amounts on the sides and top with a weighted bottom. So for this particular work, I did 2.75″ on the sides and top, then 4″ on the bottom. The total mat size is then 16×26.
3,3,3,4 is a good way to go. Or if you have a smaller frame, something like 1,1,1,1.5 would be nice. I try not to do less than an inch border of mat board around a work. It just doesn’t look as nice.
Mapping your Mat
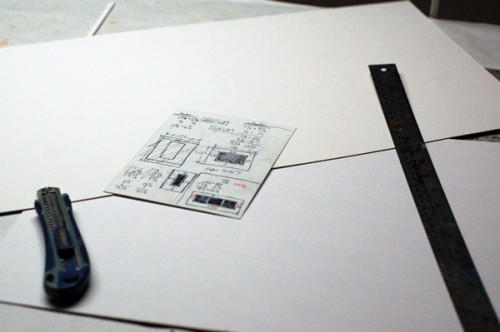
A right angle is a great tool to have at this point. I like a nice T-square so I can square off the lines from the edge of the mat board. Measure out your total mat size – the 12×26″ in my case. I cut one, then use that as a template to cut the second so they are exactly the same size. I like white mat board for the backing board and then my personal preference is for a grey, white, or black mat for the front piece.
Making my marks on the back, I measure out the window, measuring from each side as well as double checking the opening. So I’ll measure up from the bottom, down from the top, then measure the space between to make sure it’s still spot on. If it’s not, I know somethings off and recheck all my math and lines.
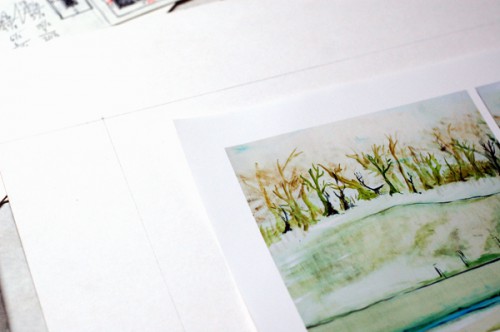
Then I measure the artwork again, measure the marked out “window”, and make sure it will all fit right. It seems excessive, but wow, screwing up a mat is annoying, so the extra 30 seconds this adds is so worth it.
Cutting the Mat
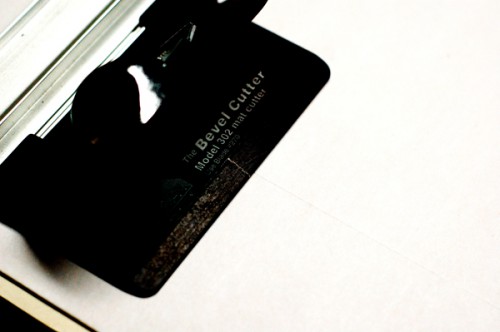
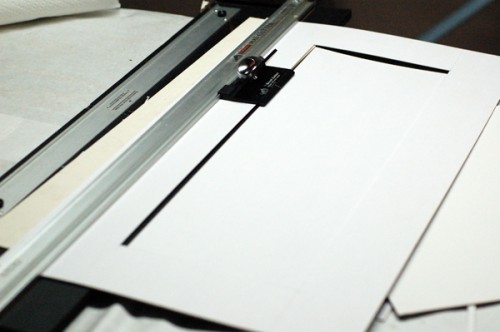
I jacked up the contrast so you could see the pencil line a little better. Main thing here is see how I’m starting the cut about 1/8″ ahead of the line? Also, I always work clockwise around the mat. That way I know what I’ve cut, how deep to cut to get it to line up, and that my mat is always facing the right way. You want the beveled edge to show up on the front side of the mat, so if you are cutting from the wrong side of the mat, you wan the “window” you are cutting out to be to the right of the cut and the border of the mat to be to the left. The work clockwise. Or, pick a direction and go with it.
End the cut about 1/8″ before the line of the other side. On the front, you’ll cut too deep into the border if you go all the way to the line. Try it on a piece of scrap and you’ll see what I’m saying.
Once you cut all four sides of the window, the center should drop out with no hang up. If it doesn’t, you can use a really sharp craft knife to finish any cuts. Just be careful because it’s really easy to mess up the bevel.
Hinging the Mat
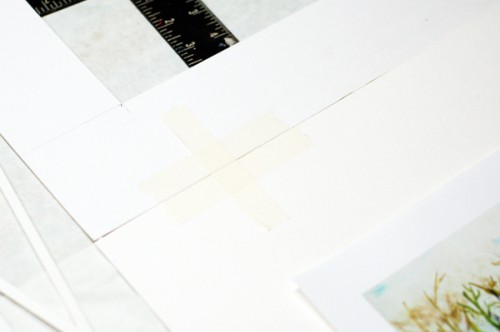
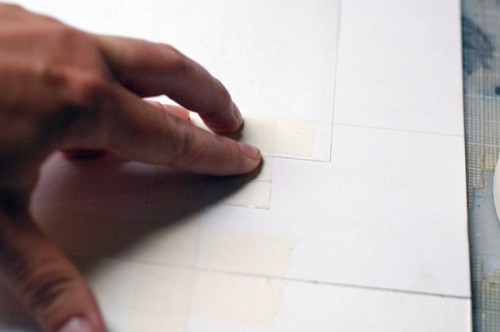
I hinge the two pieces of mat board to each other, then the print to the mat with the window cut out. I place one longer piece of artist tape across the two piece of mat board, then I place one piece on each side of the gap. This is what holds the tape in place and prevents the two mat boards from separating. (shown above).
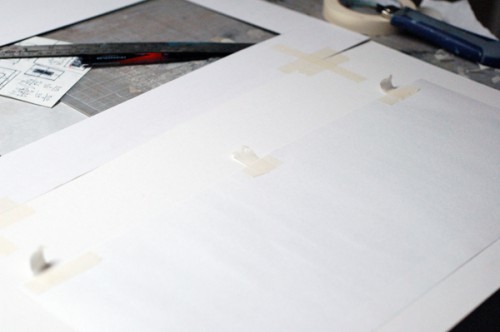
Then I essentially do the same thing from the print. Working with the print face down, I put tape about every 6 inches (min 2 pieces even on the smallest prints) and secure it with a horizontal piece (as shown).
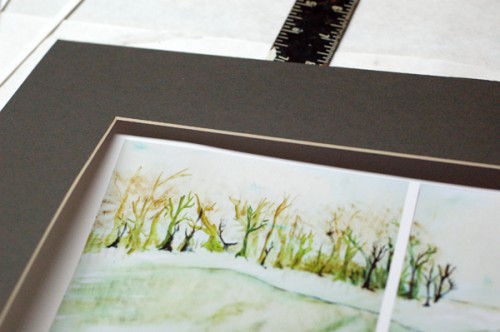
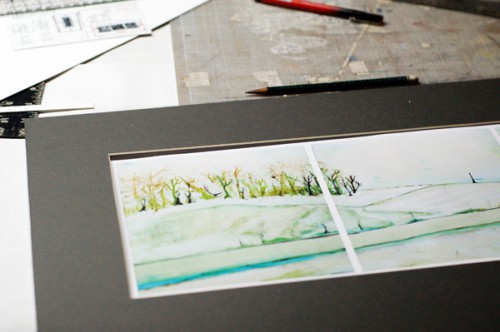
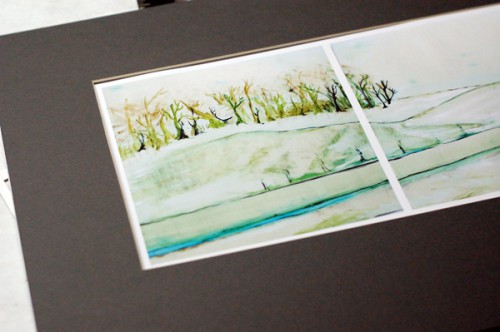
I flip the work over and gently position it in the mat so there’s an even amount of white space on all sides. When it’s just perfect (get out your ruler and measure if you don’t trust your eyes), press down hard over where the tape is.
Open the mat back up, press the tape firmly to really help it stick and add another horizontal piece so the print is now securely mounted to the mat board.
Close the hinged mat and double check everything again.
Then add a couple of pieces of double sided tape (or tape rolled onto iteslf) along the bottom to help everything lay nice and flat until it’s in a frame.
I sold this and other prints in person at my opening this past Friday (the opening went awesome! but made for a very busy/nerve racking two weeks leading up to it). If you happen to be in Central Iowa this month, come stop by the Space for Ames for one of their events. I have a nice mix of new and old works hanging up and prints available for sale there until early August.
Until Next Time (sooner rather than later!),
Kristin Roach


One thought on “How to: Mat your work!”
Comments are closed.