Tutorial: Attach a bias tape edging
I have been doing a lot of clothing sewing lately and I keep skipping parts of the pattern and messing things up on accident (shhhh). Thankfully, I’m pretty good at jimmy rigging and “enhancing” patterns.
On my last dress: hello there:
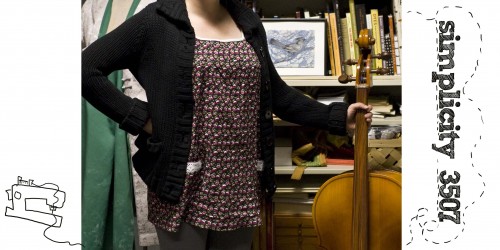
I forgot to sew the bodice right sides together and turn it out before top stitching, so I was left with all these crazy raw edges, woops. I could have redone it, but once it happened it was like “well, this would look better with a little trim anyway.”
Here is a quick easy way to add a bias tape trim to a raw edge to finish it off and make it look great.
Pin the trim to the wrong side of your neckline with the finished edge facing in:
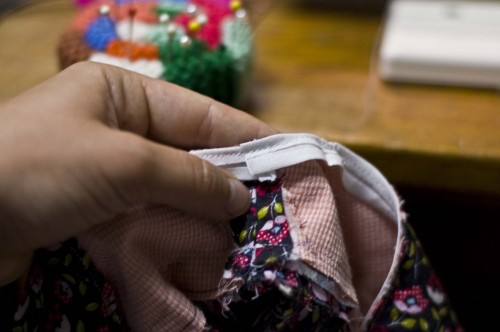
Fold the cut end of the bias tape under so when you flip it over it will be tucked under.
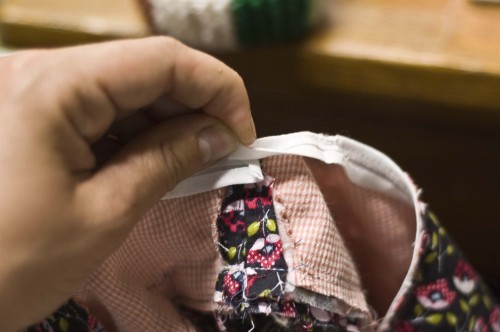
Top stitch the bias tape to the neckline, work as close to the edge of the bias tape as you can.
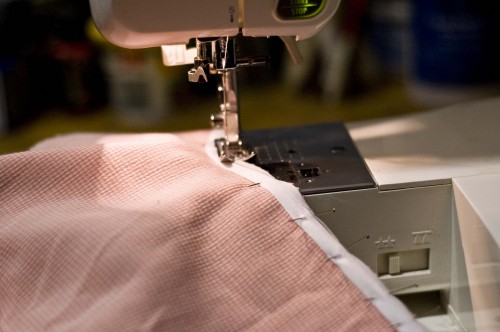
Fold the bias tape over to the right side and pin in place.
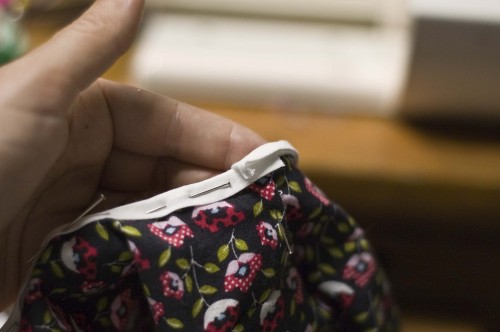
I tend to give a few extra pins to the area where the bias tape ends overlap.
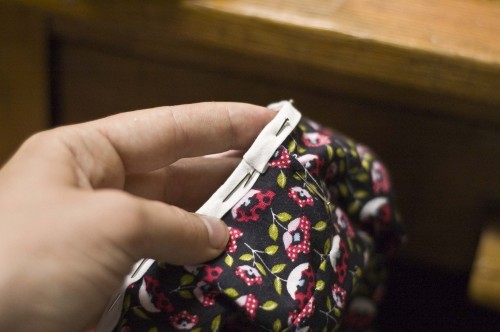
Top stitch the bias tape again and you are all set. Check out how nice that looks.
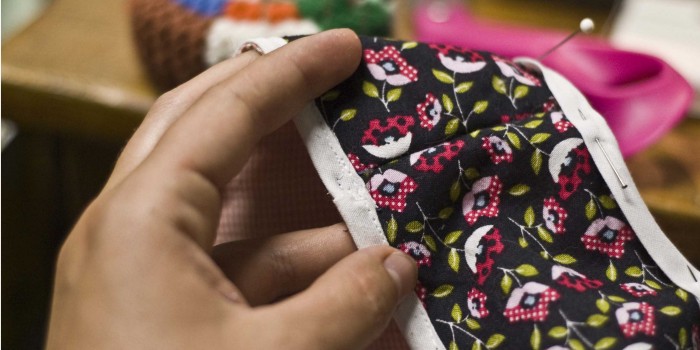
I just needed to finished up the other side and I was all set.
::Quick Tips::
Hide the bias tape overlap at the back of your neck, or if an arm hole, at your underarm.
Press the bias tape if it’s wrinkly. And press the bias tape when you do the final top stitching if it’s being difficult.
If you iron the piece with the pins in, make sure you are using stainless steal pins and not the ones with the plastic heads (melting, yuck!).
Happy stitching!
Kristin Roach

love the post as it is so clear
Lauraine
http://www.mobilecrafts.co.uk
love the post as it is so clear
Lauraine
http://www.mobilecrafts.co.uk