How to: Make an Ironing Mat
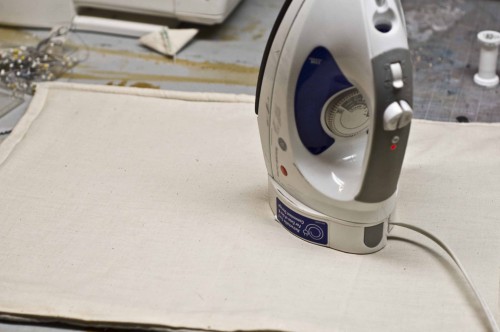
While the ironing board is a great craft room tool, it’s often a bit big and cumbersome. Sometimes I just need to press a little something while sewing–all nice and quick. I keep my cutting mat on my sewing table, so I wanted to make an ironing mat that would fit right over it and protect its rubbery surface.
Ironing Mat
Materials Needed
- 2 – 20×30″ pieces of muslin fabric
- 1 – 20×30″ piece of heavy fabric like a canvas, wool, or denim
- 1 – 20×30″ piece of fleece – not polar, but the thinner stuff
- Loads of straight pins
- A sewing machine
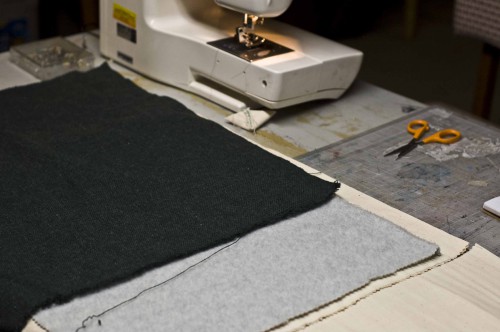
Cut all your pieces and layer them: muslin, muslin, fleece, heavy fabric
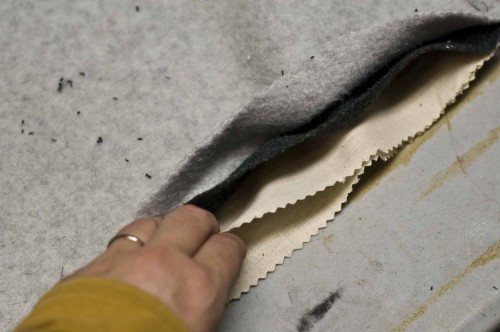
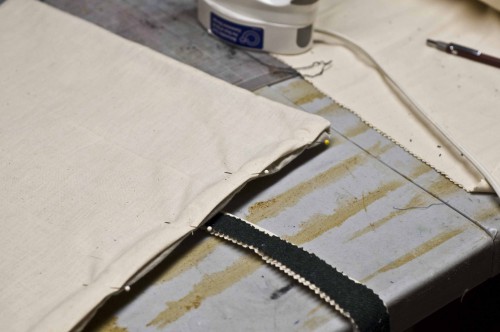
Sew around three edges using a 3/8″ seam allowance. Turn right sides out.
Tuck the open edge into itself and pin in place. Press if you need to.
Top stitch 1/2″ from the edge all the way around and that’s it. You’re done!
Happy crafting!
Kristin

Quick and easy! (I found my way here from Craft.com’s blog)
However, I’m not sure I’d trust something like this on top of my cutting mat …
I love this! Thanks! I have been known to use my old flat iron for hems on doll clothes! :)
Awesome!! I need to make one of these!! I linked to your tutorial over at Craft Gossip Sewing:
https://sewing.craftgossip.com/tutorial-ironing-mat/2010/12/19/
–Anne
How about wool felt instead of the fleece? Isn’t acrylic fleece apt to scorch under a hot iron (especially if you’re ironing on it just through muslin – and how do you tell which side is up, once the muslin encloses all?). Neat idea, though – I think I’ll make one, with variations.
I think that would work great. My thinking while I was making it was that I just wanted to fill it with a thin layer material. Think of it as “fill it with 2 pieces of anything 20×30”. I can be kind of an idiot when I’m in a creative mode, and I’ll iron stuff right on my, well , just about anything. I know I know, not good to hear, but it’s true. So for me, this was all about having something to grab to protect my surfaces from my stupidity and impatience.
I tend to also be working on something that’s already pressed – this isn’t for large pressing jobs – so it’s more just tapping the iron to the item I’m working on to make a seam flat or press down a hem line.
The best scenario would be a double layer of muslin on both sides with wool felt in between. But being that this is a leftovers project, I didn’t have any wool felt on hand :) But yes, that would definitely be the way to go.
Would insulat work instead of wool. That’s what I use when making potholders.
Definitely, that’s a great idea!
THANK YOU FOR SHARING THIS !! NEAT IDEA .
That’s actually a pretty nifty idea! I’ve been tossing up what to do with this and had been tempted to buy one of those tiny travel ironing boards but haven’t because that’s just more expense and I still have to store it somewhere! But this is a good idea I can tuck it away if I’m not using it and I probably don’t have to buy anything to make it – hopefully.
I love this and need one! It’s going on my gotta-make-it list this week! I’ll be linking as well.
I absolutely love this!! I’m making one asap! Thank you so much for tute:-)