Framing up: How to restore old beat up frames
I went to Hobby Lobby 2 weeks ago to look for a frame for a particular art piece. I just wanted a simple wood frame, dark stain, but wasn’t feeling very particular about style or shade. I could only find plastic. Unless I custom ordered a frame – which significantly upped the price.
Discouraged I looked up how to build my own frames and decided it was within my skill set to do. It was a little bit intimidating, but I figured that as long as I stuck to my measure 4 times, then make a cut, I should do okay. I dug around in my garage a bit, trying to clear things out so I could make said frame when I found:
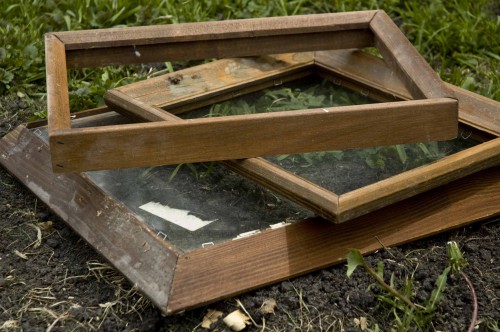
Ta-da! Box-o-frames!
How exciting! Could I use them? They are in pretty bad shape.
- Mold.
- Loose corners.
- Bad finish.
- Dings.
Sure I can!
Sourcing vintage wood frames and repairing them and finishing them costs under $10. Plus, there’s the added bonus that I love of using something that might end up in the trash AND of making it better than it was when I found it.
Restoring a Vintage Wood Frame
materials:
- old wood frame
- stain
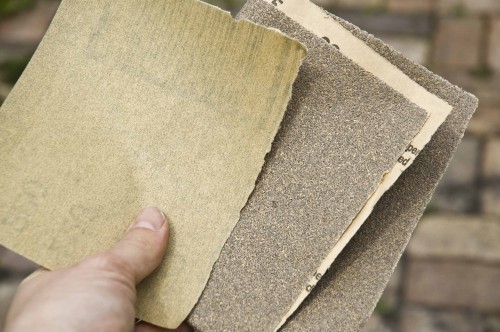
- Sandpaper – Assorted,
make sure to have a couple pieces of really fine gritt, like 220
for finishing
- Wood Glue
- Wood Filler
- Cheesecloth
tools:
Step One: Sanding
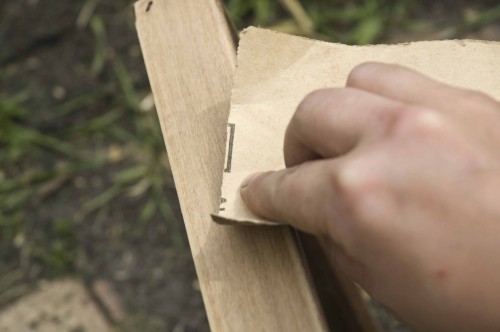
This is THE most important step. You want to sand off everything, and keep it even. Start with a corser gritt and work your way down to 220. Use cheese cloth or a scrap clean cotton fabric to wipe off the sanded surface regularly so you can see how you are progressing.
When sanding corners, be careful not to round them out.
And of course, always sand with the grain, not against it.
Step Two: Repair
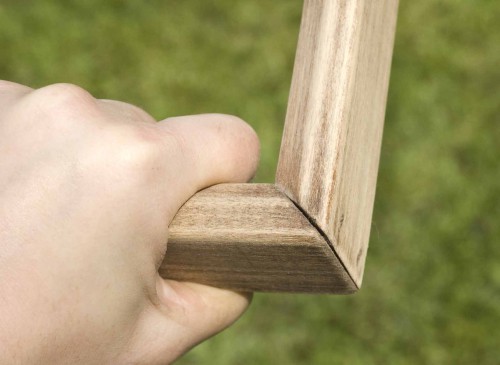
All my frames were really wobbly from, well, old age. The nails had worked themselves loose and a little gap had formed at the mitered corners. You could just shove putty in there and call it good, but I think that looks really sloppy.
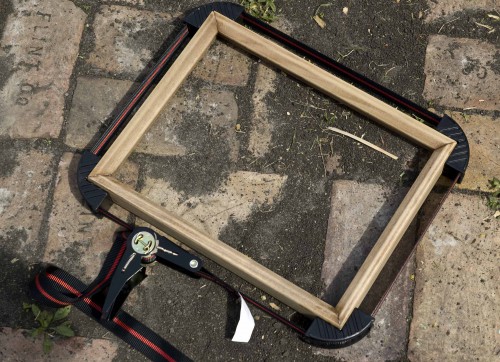
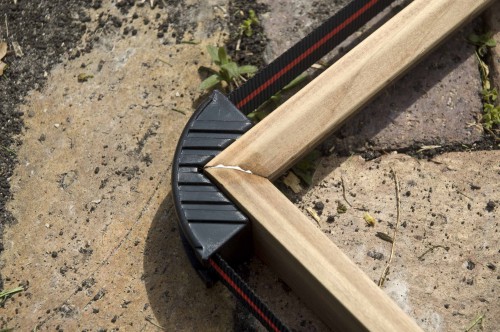
Instead, grab your belt clamp, wood glue, a damp paper towel, and a Q-tips (I didn’t use the Q-tips
and lived to regret it, precision will save you so much time).
First, put a generous amount of wood glue on your q-tip and apply as much as possible into the corner joins. Immediately wipe off the surface of the wood with the damp paper towel. Move quickly from one corner to the next until all four are done and wiped up.
Second, place in the belt clamp and ratchet it as tight as possible. Because of the mitered corners, the frame should be able to take more stress than you might think. If the wood it really thin, take it a little easier.
More glue will ooze out of the crack, wipe that off right away. Let the frame sit like that for as long as your wood glue states – I believe mine was about 4 hours to “cure”.
Fill in any little spots with putty and let dry some more.
Step Three: Fixes
If like you me, you dribbled wood glue (or putty) all over the place, sand it off all the way to the grain of the wood. Anywhere you can see wood glue, the stain will not properly absorb. That will make your frame look a little tacky.
Woops.
Step Four: Finishes
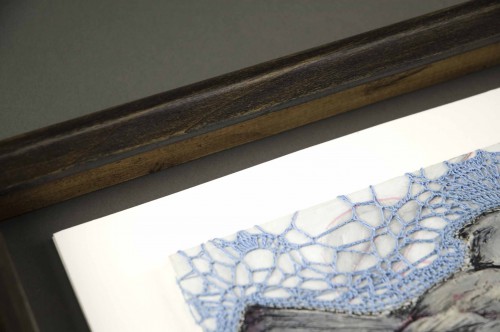
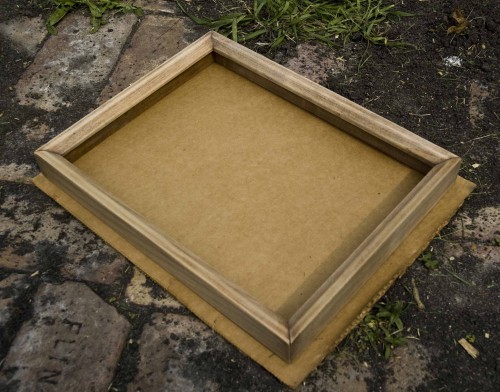
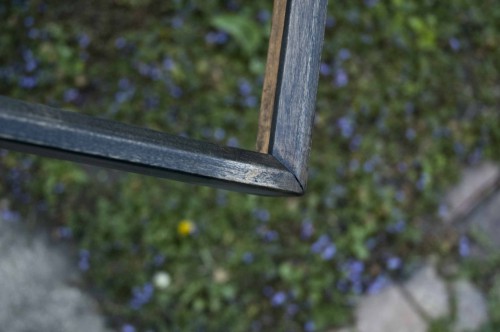
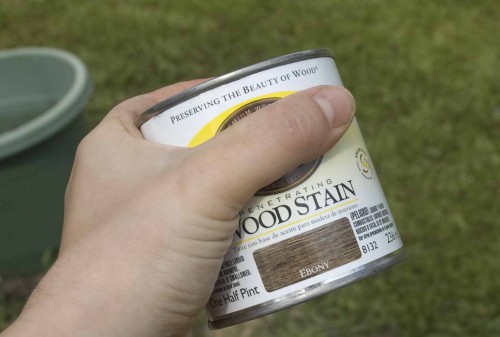
I chose an all in one stain/finisher in Ebony.
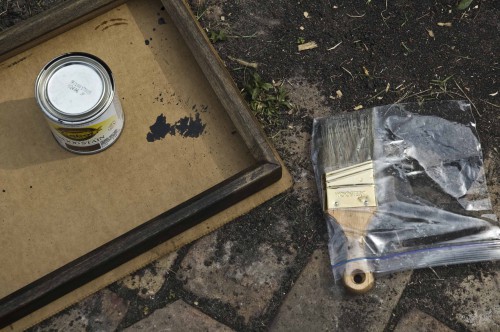
First, Brush on the stain in a nice even coat all around, then wipe it off with a clean cloth in the order it was applied. This is so the stain sits for equal time before being removed. Work clockwise so you can keep track of what side you should be on.
Second, Let dry for 24 hours.
Third, Buff with that extra fine sandpaper and wipe clean with a dry cotton cloth.
Repeat as many times as you want to get the desired finish.
Step Five: Glass
One of the issue with many vintage frames is that they are missing their glass. That’s easier fixed than you may think.
- For cheap, go to a hardware store and get them to cut some window glass down to size.
- For art and uv protection, go to a frame shop (even hobby lobby sells it) and have them cut it down to size. It usually runs about $8 for an 8×10″ piece.
And that’s it.
Now, one thing I do have to say, this is not a one day project, but it’s not a time intensive project either. Just set up a little area in the garage or on the porch where it won’t be kicked around and expect to spend about 10 minutes a day for 4 days to get it done.
Next week I’ll show you how to size up and cut a mat for your new frame. It will really make your work shine.
Happy crafting!
Kristin
[ad#Adsense-post]


Cool! So I’ll be on the lookout, now, for frames that just need some TLC. — But are you still planning on doing a how-to using scrap wood? I’d be so pleased if you did. Thanks!
That’s how the pros do it – I did custom picture framing for about 5 years in HS/College. Loved it! excellent tutorial for newbies :)
how did you get rid of the mold??? by sanding?
Exactly. As long as it’s on the surface and completely dried out, it will sand right off… wear a dust mask if you are sanding off mold. If it’s really nasty, wash with a bleach solution first (like a splash in a sink of water), let it dry out completely (I’d just leave it on the porch for a week), then sand away (wearing dust mask of course, gloves might not be a bad idea either if you have allergies).
Hello, a great tutorial. You have done a fantastic job – and your piece of work is beautiful!
I love this! I have a bunch of rickety frames and while I could figure out how to do this on my own, it’s so much easier to follow your tutorial where you’ve outlined and illustrated the steps so clearly. I just need a belt clamp.
Do you think I would use the same kind of clamp for a LARGE frame? At least 30″ x 50″?
I have an ornate gilt frame that hung from the rafters in my grandparent’s barn for years. It’s a bit skewed and had a couple of dirt dauber nests in the corners. I have the empty frame hanging in front of my frameless bathroom mirror to keep it from skewing further until I fix it.
I would think so, but use a triangle to make sure you square up the corners and maybe forgo the little corner right angle that I had on mine, they may or may not be helpful on the ornate sides.
Definitely give it a try, sand the spots where the nests were really well, maybe even use a woodworking needle file to get into the grooves that might be too small for the sand paper. You can usually get a set from the hardware store for pretty cheap, just make sure to get the wood ones vs metal. You may want to try a gold leaf kit (the imitation from the craft store kind) for the decorative accents to really restore it well and keep that gilding.
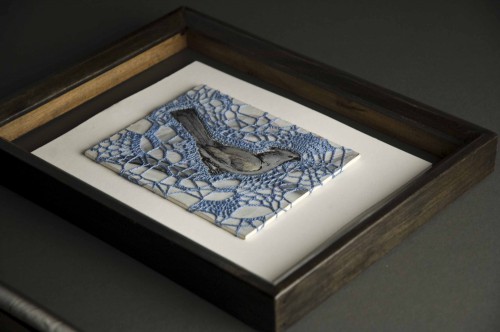
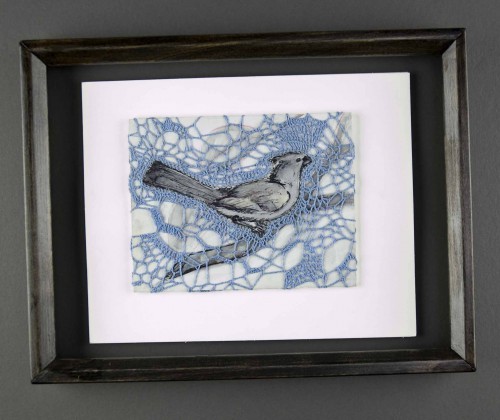
I just have to say that I love your finished peice! I love the mix of crochet with the simple drawing.
I just have to say that I love your finished peice! I love the mix of crochet with the simple drawing.
Thank you so much! I’m excited that I’m not the only one who loves the way it turned out – I just sold my first print of it on Monday too :)