Though I’ve always thought pomanders were a great idea, it wasn’t until yesterday that I actually made my own! It was one of the activities at the Winter Art Camp at the Octagon Center for the Arts. I was invited to stay after my activitiy was over and join in the fun. It spurred much pomander making last night.
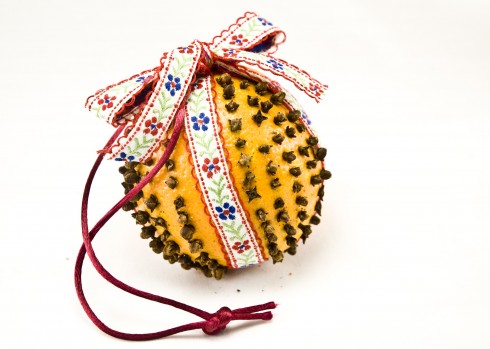
These are the ones I am working on finishing.
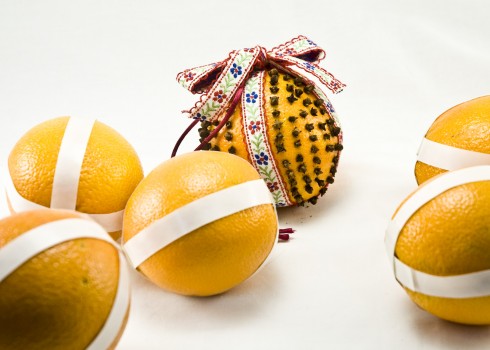
I decided to get a little fancy and mask off the orange where the ribbon will lie with masking tape.
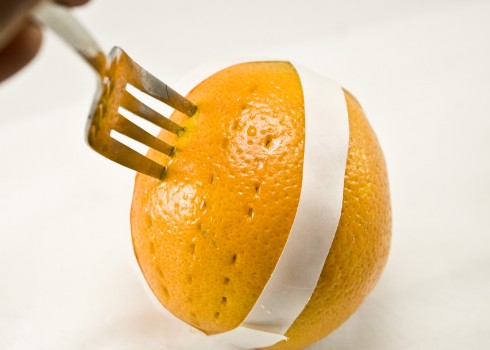
Then I poked vertical lines of holes with a fork where I wanted the cloves to go. A good idea is to space them no more than 1/4″ together because the orange will shrink as it dries.
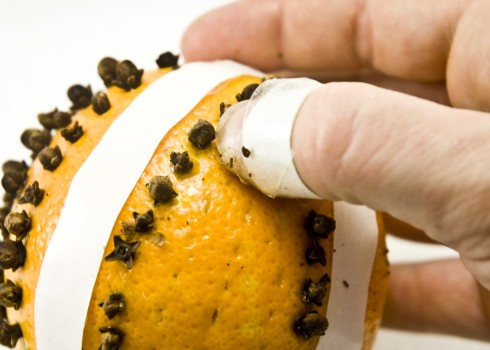
And, with fingers taped, I pushed in all the cloves.
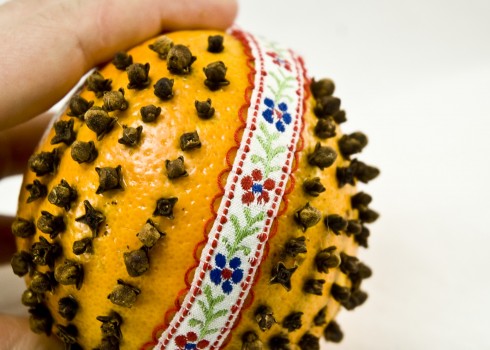
I tied one piece of ribbon around the orange where I had masked it off (removing the tape before putting on the ribbon). Hot glue is great for keeping it in place.
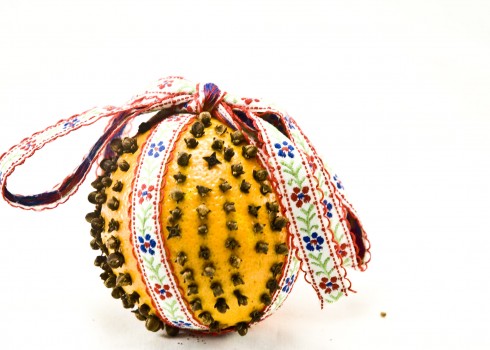
Then I tied a bow around along the other masked of lines (more hot glue please, thank you).
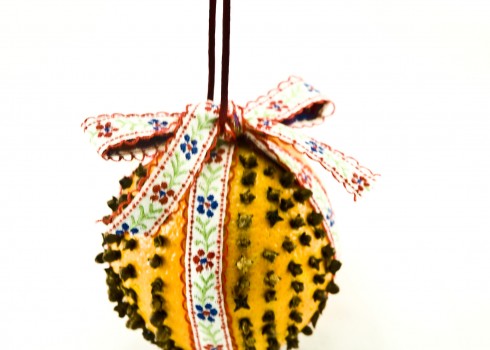
And one final piece tied on so it can be easily hung. {I trimmed the bow and made it smaller so it’s less floppy for the final picture here).
I am making one for each of my family and friend units. They send really well if you wrap it in tissue paper and put it in a little box. And the smell wonderful when you open up each gift. There is the added benefit of being moth repellent too!
Happy Crafting and Merry Christmas!
Kristin
p.s. To get the best price on cloves, go to your local health food store and get them from the bulk bins. Cloves are so much cheaper there than buying them in those fancy, little spice jars. Or get one of those huge Tone containers of them from a bulk place like Sam’s or CostCo.
