
Winter Composting Part 1: Vermicompost!
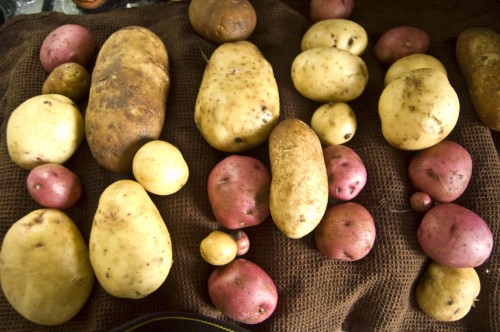
The gardening bug has hit me earlier than usual this year. Last year I mapped out all the gardening plans in the February Craft Leftovers Monthly. Well, right now it’s too early to start seeds or even purchase them. The compost pile is frozen solid. And it’s too late to start growing things indoors. And I just finished eating the last of the potatoes from the root cellar (aka card board box + layers of newspaper in the basement).
Dormant is a good word for every aspect of gardening in Iowa this time of year.
Or is it?
Just when I thought there was no point in saving my kitchen scraps for the compost pile I remembered that February issue and my worm composting plans. You see, when we moved from the apartment to the house, the worms stood forgotten in a small box on a pile of boxes in the spare bedroom. I felt so bad. I killed all my worms. They dried up and died. That is some sad stuff. Jason consoled me that there were “just worms” but still. I’m the kid that used to collect worms and keep them as pets. My mom actually has pictures of me giving them baths only to stick them into their “clean” dirt homes. I was an odd child but whatever. That story cracks me up.
Anyway, it’s time to give vermicomposting another shot. This time I’m using my friend’s easy to use and manage set up. I’m not sure where he got the tutorial to make it, so I wrote it up for you.
Here’s how you make your own:
::Materials::
- 3 shoe boxed size plastic storage container
- 2 cups shredded newspaper
- Dash of shredded lettuce
- 1/4 cup water
- 3/8″ drill bit + drill
- 1/2lb of red wigglers (I got mine from this ebay seller and then learned they are often sold at bait shops for fishing. I’m not sure if you can get them this time of year in the north. The ebay seller ships them quick and tells you when they are coming so they don’t freeze. And if they do freeze, don’t despair. Let them thaw at room temp and they should be mostly okay. Yes this is a life lesson I learned the hard way.)
::Directions::
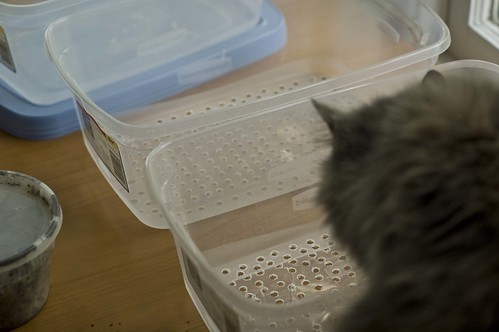
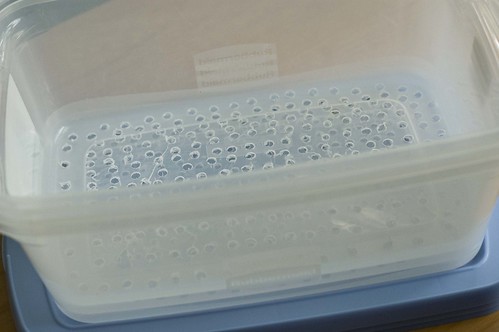
Step one: Slowly drill a ton of holes in the bottom of TWO of the plastic storage containers. Use a little oil on the bit to aid progress. Another option would be to cover the whole bottom in masking tape to help it from cracking.
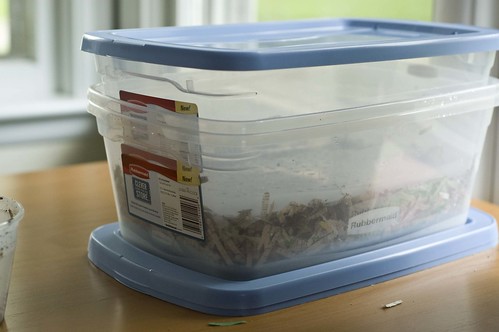
Step two: Place one drilled container into the undrilled container.
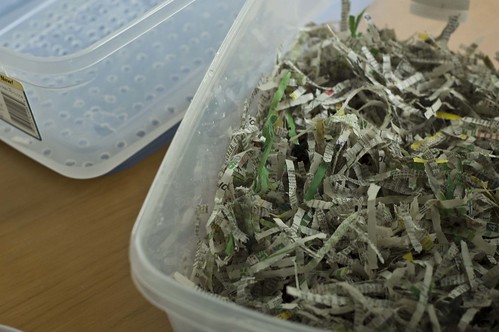
Step three: In a mixing bowl, toss water and newspaper together until all the newspaper is damp but not soaked.
Step four: Place the damp newspaper into the two stacked containers. Add in the worms.
Step five: Top off with the second drilled container and a lid. Keep in a cool dark place, like a hall closet, and make sure to leave yourself a note to check on them at least twice a week. Every other day is pretty good.
Note: You can totally scale this system up to huge gallon bins. Drill some smaller (1/16″) vent holes along the sides and in the lid for a bigger set up. Your worms will multiply if they have enough food and space. So scaling up the size of their condo is a good way to go if you have the space. As is, this is a fun little system for your kiddos to do, to feed your houseplants, and supplement your outside compost.
::Maintenance::
This is key since killing these poor little guys is hard, which makes it so easy because you forget they are there.
First, make sure they have semi-moist bedding.
- If you start to notice the bedding is getting dry, mist the whole thing wish some water.
- If it’s too wet (like you went a little mist happy) mix in some fresh shredded newspaper.
- Because of the moisture needed to make this all work, you can sometimes get some, umm, “worm juice” settling to the bottom. A great thing about this set up is that it just collects in the undrilled bottom container. You can remove the bottom tray and dump the worm tea into a house plant, onto your large compost pile, or save it in an old 1/2 gallon milk jug in the frig for use later. That stuff is really nutrient rich, but will really start to stink if you just leave it.
Feeding Your Worms
1/2 lb of worms will eat about 1/4 lb of kitchen waste a day. (I tend to feed them a variety of veg scraps with an occasional crushed egg shell and sprinkling of coffee grounds in the mix.) You could add a 1/4 lb a day or a 1/2 lb every other day. I like to add about 1/2 lb every other day and rotate the placement so I can gauge how much they are eating and adjust more or less. If you have too much food in the bin and they aren’t eating it quickly enough, the eggs in hibernation on the produce will hatch (fruit flies and the like). Here’s what my feeding schedule in the bin looks like over the course of a two week period:

I basically move clockwise around the box, adding in a bit of food every other day. Cover it with bedding/dirt each time you add more. This also helps prevent pests and insects from getting in there.
Getting your compost worm-free.
This is the really awesome part about this triple container set up. When the worms have pretty much composted all the bedding and organic matter in the first drilled tray, you simply fill the top tray with fresh newspaper and start adding their food to that bin. They wiggle their way up through the holes and hang out in the new bedding and munch on the new food. You take the now worm-free compost and use it however you want. Rinse out the tray and put it on top of the now worm filled bedding.
Some great facts on keeping your worm friends happy can be found at Cathy’s Crawly Composters website.
I’ll be posting a book review of the Urban Homestead (my first Kindle book purchase ever!) on Kristinmroach.com later this week or early in the next. I’m sick as I’m writing this, so after I finish this post, I’m going to go hop in a hot bath and relax while reading (carefully) this great book. I can’t wait to get more chickens in a couple of months!
Happy winter composting!
Kristin


Thanks for sharing this. I have worms I was using at school, but since I took the year off, I saved them from the tank (there were other bugs in there we use for observations and such) and left the rest for another teacher. The worms have sadly been living in poor quarters, and I need to remedy that soon. I never thought about having a second container to separate the worms from the compost. I always thought you just had to accept you were going to lose some of your worms to the garden!