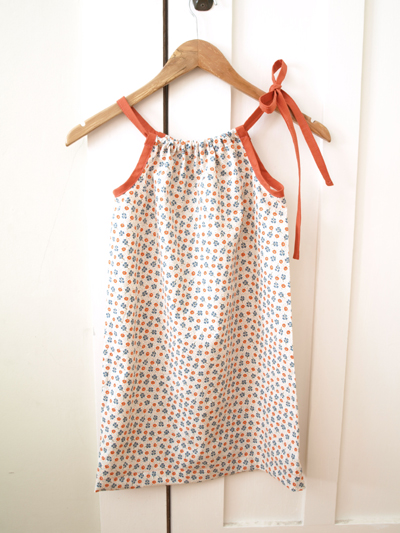
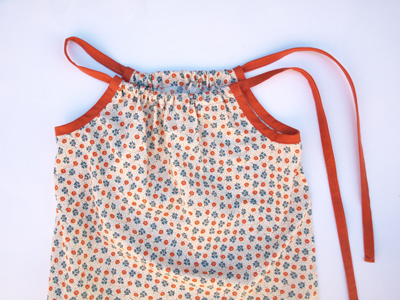
Open up your linen cupboard and find your loveliest vintage pillowcase. It is the perfect size to refashion into a dress for that special little girl in your life.
The pillowcase dress has become an essential piece of girly goodness in my daughter’s wardrobe. It is so versatile: for cooler weather, simply layer the dress with a long-sleeve t-shirt and tights underneath.
How to Make a Dress from a Pillowcase
by Alyssa Devanny from Refashion
A standard sized pillowcase will fit a girl between the ages of three and seven.
You will need:
- 1 pillowcase (or equivalent amount of fabric stitched into a cylinder)
- fabric scraps for armhole binding and tie (or bias binding and ribbon)
- matching thread
- scissors
- tape measure
- sewing machine
- dressmaking pins
- safety pin
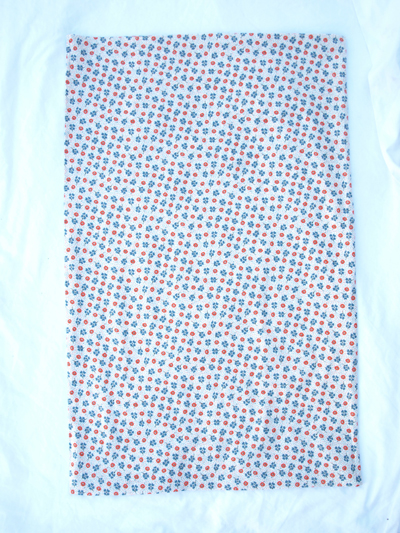
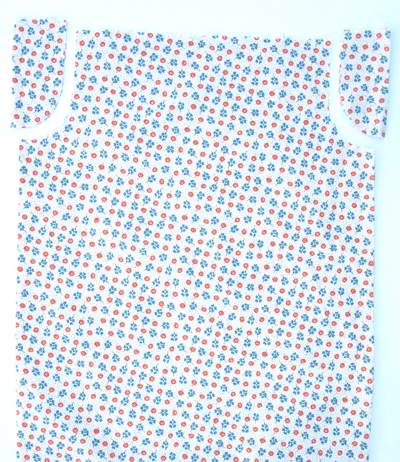
Cut two ‘J’ shapes from the top of your pillowcase (the end opposite to the opening). Each ‘J’ should measure 13cm x 6cm (5″ x 2 1/2″). Cut open along the fold line at the top of the pillowcase.
You can purchase ready-made bias binding for the armholes, or you can make your own from scraps of fabric. To make your own, cut two diagonal strips from your fabric scraps, each measuring 40cm long x 5cm wide (16″ x 2″).
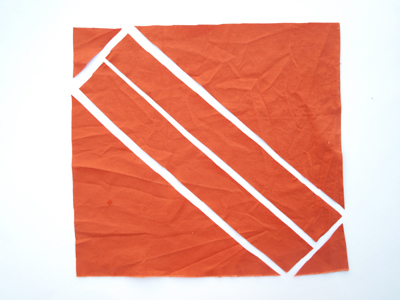
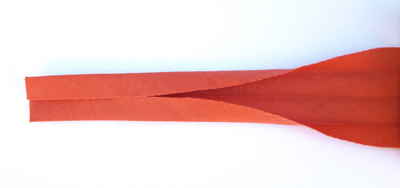
Press (iron) the strip in half, lengthwise. Press (iron) under the raw edges to meet at the middle.
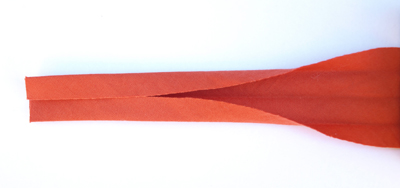
Open out the binding. Open out the pillowcase. With right sides together, pin the binding around the armhole, lining up raw edges. Stitch along the fold closest to the raw edge.
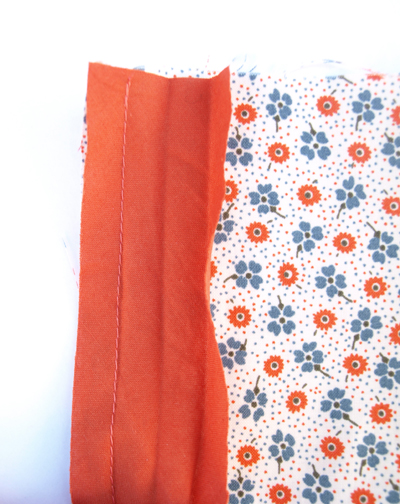
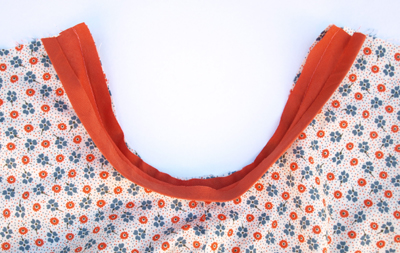
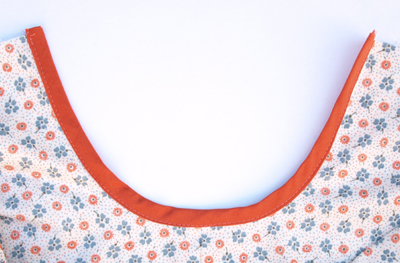
Fold the binding over to encase the raw edges. Pin in place. On the wrong side, stitch through all layers. Trim off any excess binding. Repeat with the other armhole.
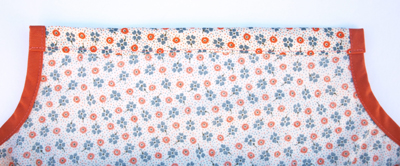
To make the casing for the tie, fold over and press (iron) 1cm (1/2″) along the inside top edges of dress. Fold over again 2.5cm (1″) and stitch in place.
For the tie, you can purchase some wide ribbon, or you can make your own tie from scraps of fabric.
To make your own tie, cut a piece of fabric measuring approximately 150cm long x 5cm wide (63″ x 2″). Press (iron) as per armhole binding.
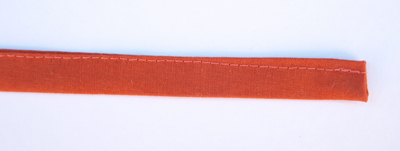
Topstitch through all layers, turning under each end to hide the raw edges.
Use a safety pin to thread the tie through top casings.
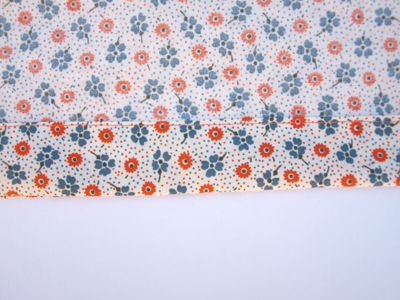
Try the dress on your little girl and mark the desired length of the hem. On older girls you may wish to keep the original hem, in which case, simply topstitch the flap closed.
To make the dress shorter, add a 4cm (1 1/2″) hem allowance and cut the bottom off the pillowcase.
On the wrong side, fold over and press (iron) 1cm (1/2″). Fold over again 2.5cm (1″) and stitch in place.

Such a classic dress!! I posted a link to your tutorial on Craft Gossip Sewing:
https://sewing.craftgossip.com/tutorial-classic-pillowcase-dress/2009/09/25/
–Anne
I love this! Back in the early 1970’s My Mom used to make this a nightgown for sleeper overs. Everyone would bring an old pillowcase and she would refashion it into a nightgown for them.( Long before it was cool ) We would all be fascinated to watch a pillowcase turn right before our very eyes into the night gown. I love the fact you took this into the daytime and made such an adorable dress! Great memories. Thanks for the tutorial.
Thanks for the tutorial…I have put a link to your post on my freebies blog…Khris
Hey, thanks for the tutorial. I used it to make myself a top. Pictures are on my blog. I really had fun making it! I linked to you from my post too.
Hi, I love this tutorial and posted a picture with link back on my blog. Hope you don’t mind.
Thanks so much for the illustrations and directions. I am going to try this…and since I have so many pillowcases, what a great way to use them for little ones in my life. Thanks again!
Really cute pattern. I've seen a bunch of tutorials for these. But this one looks much cleaner with the bias tape.
Just finished mine tonight, but must wait until morning to try it on my daughter…looks great, though! Thanks for sharing!
Just finished mine tonight, but must wait until morning to try it on my daughter…looks great, though! Thanks for sharing!
I pinned this on pinterest! Please let me know if that’s not okay!