Making Craft Leftovers Monthly: Part 3
Last week I talked about what the zine contains, Monday covered how I come up with content each month. And today I’m going to go over the nuts and bolts of how these ideas make their way onto the printed page and get to your mailbox.
Writing and Editing
After I have all my lists, I start working through them. Contributors send me their articles around the first of the month, so their work has been proofed already. I write the articles I’ve mapped out and send them over to my friend Linda who copy edits all of it. She’s really great, like Karen, she’s volunteered her time to help me not sound like an idiot.
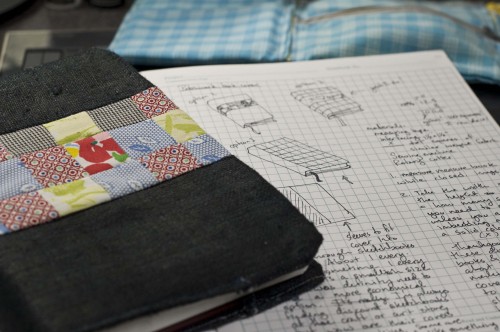
(patchwork book cover pictured above is just one of the fun scrappy patterns in this issue)
If I’m on schedule, I will have made all the projects for the zine before that to do list even gets made. Usually it’s a matter of converting my notes and sketches into something comprehensible. Those get sent off to Linda for copy editing too. When I get them back, I do some tech edits with fresh eyes. You know, making sure the math is right and double checking my measurements.
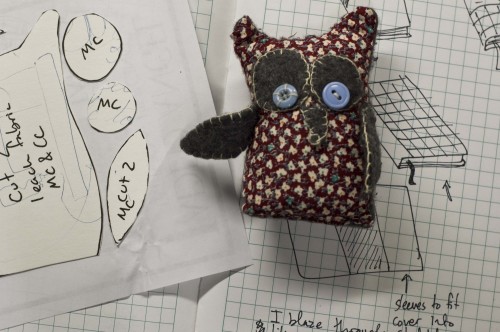
(Cute little owl that inspired the cover is also included in this month’s zine)
Laying it out
I use InDesign CS4 to layout the zine. It was difficult getting used to since I learned Quark first. After a few years of using it, loads of tutorials, and this book, I’m finally comfortable with it.
All the nicely edited text is dropped into InDesign just like I laid out in the paper mock up. This helps me figure out how long each article will be, and to see where I need to slim down. I often have to drop a pattern or add an article at this point.
Save. Print. I make a note in the new proof of where I want illustrations to go, what they need to convey, and what their dimensions should be. A lot of the time I end up doing some rough sketches directly on the zine proof.
Then the really fun part starts. Sure, I like writing, if I didn’t I wouldn’t have a blog. That’s the thing, I like writing but I love drawing.
Illustrating
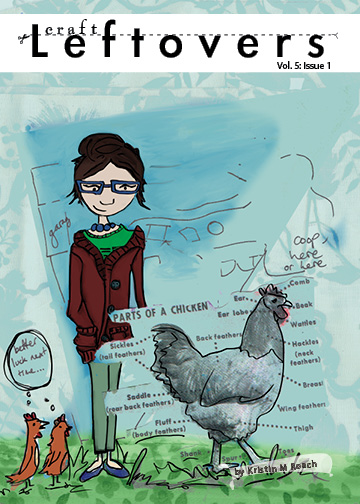
I documented my process for making this month’s cover, so that’s what I’ll show you. It’s pretty much the same process for each illustration.
For the cover, I marked out the size it needs to be (5×7″) using a 3H pencil and taped it off with low adhesive archival tape.
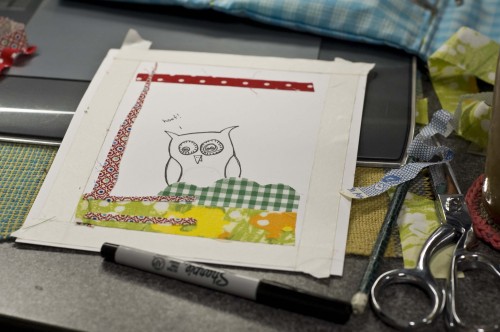
I’ve been more adventurous lately and decided to collage a bit of fabric into my illustrations for the zine, especially the cover. Then I drew the main component–that super cute little owl.
I clean up the lines with an eraser and go over it with a fine tipped black marker.
Scan it
Then it switches over to working on the computer. Depending on the illustration I’ll use a combination of Photoshop and Illustrator. I draw using an Intuos4 Wacom tablet. I have the sketch and regular stylus. For the cover, I opted to just use Photoshop.
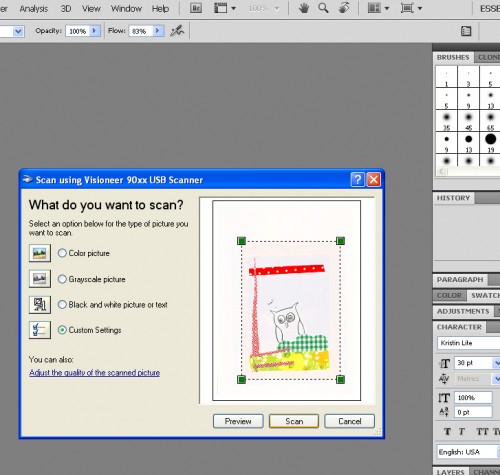
Note: I tend to use Illustrator for drawings that need a bit more precision. I do the line drawings in Illustrator and then add color using Photoshop.
First I convert it all to Black and White using the image editing options. After that I convert it to gray scale. I’ve found that just converting to gray scale isn’t as flexible.
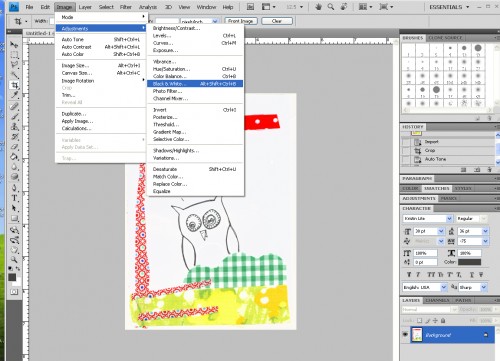
I create a new layer and remove any unwanted elements of the scan.
For the cover I drop in the text so I know what to draw around. You can see here the placement on that piece of fabric is pretty bad. I copy it to it’s own layer and change the opacity so it’s a lighter shade of gray and the text pops.
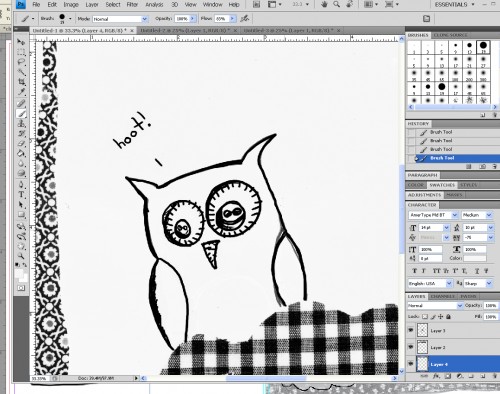
In another layer, I draw over my lines with the brush tool.
Another layer below that and I add color. Sometimes I scan fabric and add that in too.
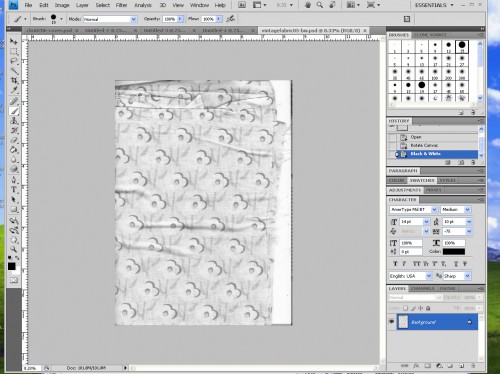
Add a few more lines and I’m finished. Well, not quite, there was a lot of pushing a pulling that happened. I tend to do a few test prints to see if the gray on my screen is anywhere close to the printed version. Nope. It’s a lot darker, so back to the computer to lighten things up and darken others.
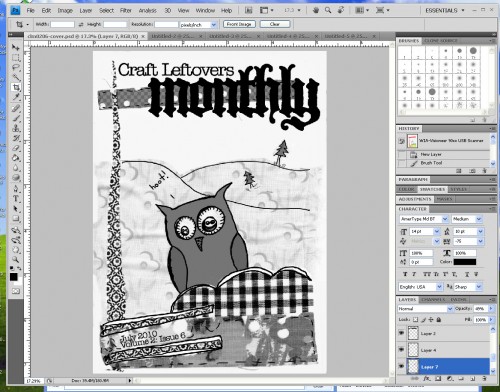
Finally I add it to the cover InDesign file, save it as a pdf and off I go.
To the Printers
I print the zine guts on my own printer, but the cover has to be printed at the local print shop. My printer doesn’t get hot enough to properly fuse the toner to the recycled grocery bag type paper and it rubs off pretty easily.
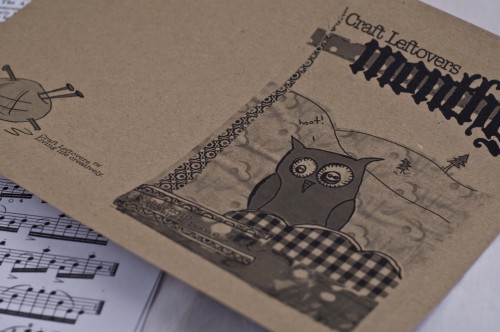
Back to the studio: I print the guts of the zine on my own printer. I use this really amazing paper that’s a little thicker than regular paper, but a little thinner than card stock. It’s 100% recycled and just slightly off white.
Assembly
Now I become a one person assembly line. I put on an audio book or some of my favorite podcasts, grab my long arm stapler, and get to work. I staple, fold, and do the final trimming.
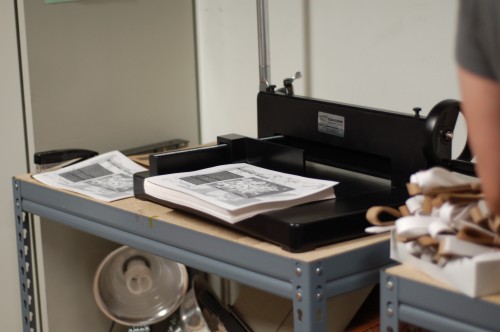
Somewhere in all this mess of writing, illustrating, and assembly, I’ll get a bit burnt out and need a break. So I turn to another task–postage printing.
To Your Door
I print postage on these mailing labels from Uline using Endicia for Mac. The envelopes I use are the same paper as the cover card stock–100% recycled and that lovely grocery bag texture.
Each zine gets packaged up in an envelope, postage slapped on, and I drop off a huge bag of packages to the post office.
In the Shop
I use X-Cart for the Craft Leftovers shop and also sell the zines on Etsy. I’ve opted to add the July issue to the shop even though I’m waiting on the covers. The only printer that prints it right (so the toner won’t smear) is down. They usually get things fixed pretty quickly so it shouldn’t be long at all. Since you will have to wait a little bit before it gets to you, you get a pre-sale bonus! And unlike last time, the turn around will be a lot shorter. I’ll find a solution and get it out the door by Monday no problem. Maybe even Saturday if all goes well.
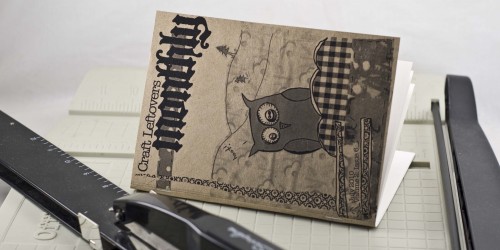
You can pick up the July issue here
or, if you know you want July and many more months, a subscription is the best way to go.
You save a significant amount over single issues, even with the pre-sale pricing. Subscriptions for Volume 4 coming soon to the shop!
Happy crafting!
Kristin
It's so nice of you to go through the details of your process in these posts…there's so much work that goes into it! I've been really into zines and wanting to do a little one myself and wow…there's so much to do! At least it's all very enjoyable though :)
It's so nice of you to go through the details of your process in these posts…there's so much work that goes into it! I've been really into zines and wanting to do a little one myself and wow…there's so much to do! At least it's all very enjoyable though :)