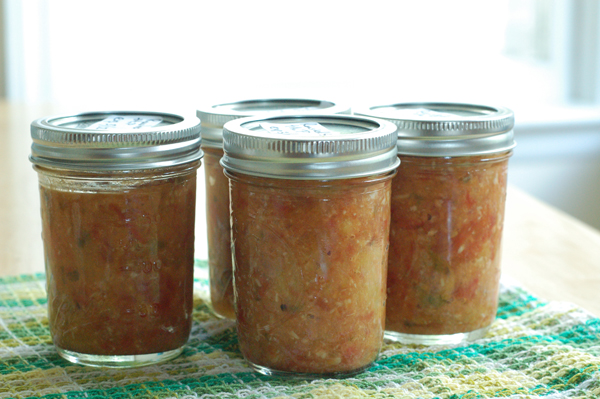
Last week I thoroughly enjoyed cooking, eating, and canning my tomatoes and peppers except when I ate too many over ripened jalapenos and just about scorched my face off. I was literally under the faucet it burned so much. I’ve never ate something so hot that it made me cough and just about yak. But, besides that I had a lovely time experimenting with a new recipe for canning from The Art of Preserving (Roasted Garlic Salsa) and making my personal favorite dish of the season – Face Scorching Garden Nachos.
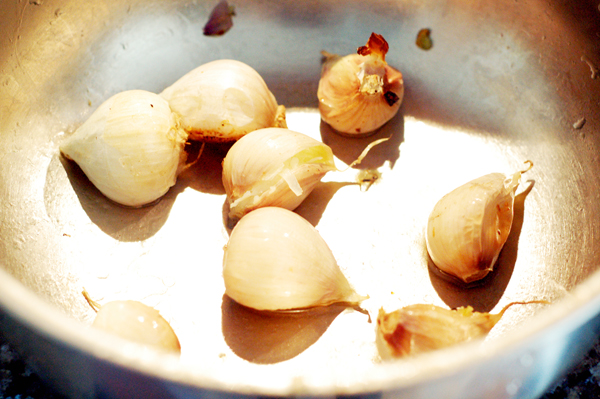
Roasted Garlic Salsa
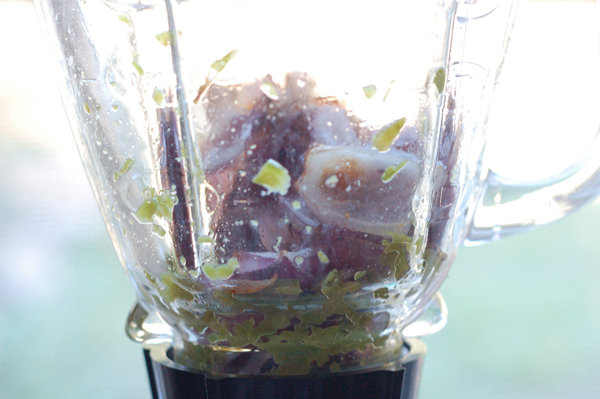
Roasted jalapeno and red onions being blended up.
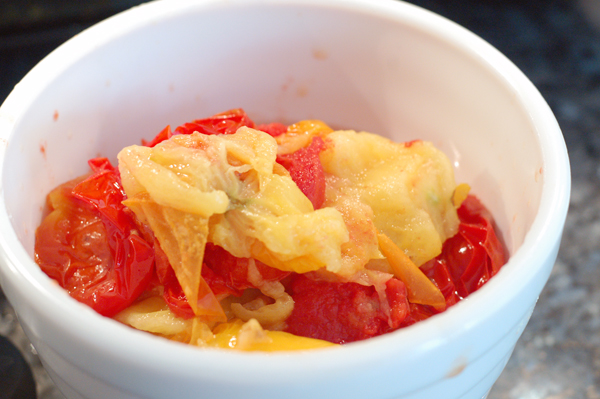
Coring and de-seeded the roasted tomatoes.
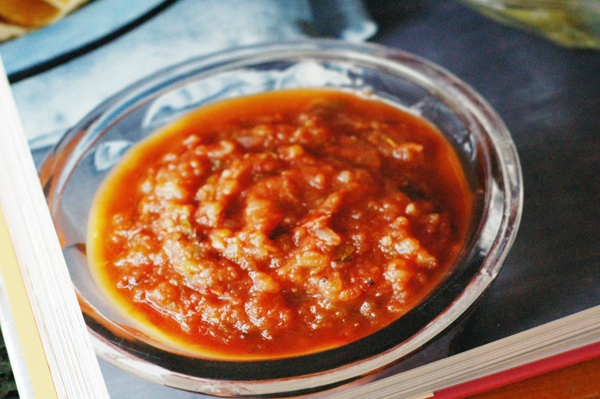
And this is what it’s supposed to look like, page xx from The Art of Preserving. And I used yellow and red tomatoes, so mine ended up looking like this:
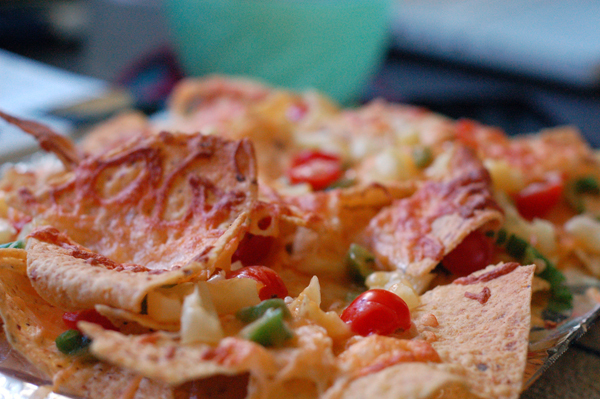
Face Scorching Nacho Making
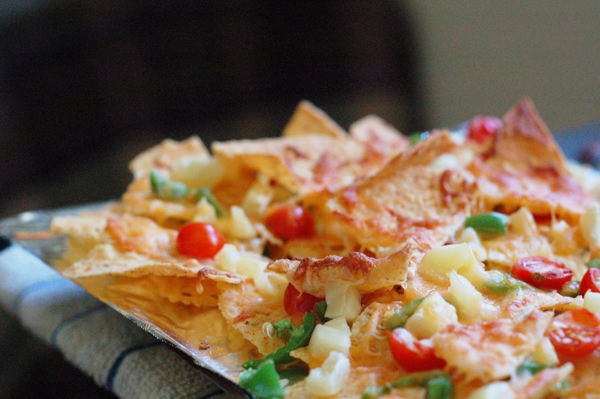
I love nachos. I would say that Nachos – from gourmet to fair-cheese-stale-chip dishes absolutely delight my taste buds – are my absolute favorite food. When tomatoes, onions, and jalapenos are all in season in the garden, my absolute favorite dish to make is nachos. there is nothing better than chopping up these veggies and layering them with tortillas and
As such, I have a few tips on make the most wonderful nachos ever:
Baked vs the microwave.
Maybe you just toss some tortilla chips and cheese in the microwave to a crunchy treat, well, while this is just fine, I would encourage you to try making nachos in the toaster oven or in your conventional oven at 375 degrees. It takes the same amount of time to toast as toast, so don’t think it’s going to delay your nacho joy. The result is crunch, slightly browned cheesiness – which to me is the sign of a well made nacho dish.
Layering it up
I’m making this all up as I go along and of course it’s subject to personal opinion, but for me, there is only one way to properly layer veggies into my nachos:
- Chips first
- Onions and jalapenos second
- Cheese
- Salsa/tomatoes
If you are doing a double stack of nachos to maximize space:
- Chips
- Onions/peppers
- Cheese
- Chips
- Onions/peppers
- Cheese
- Then tomatoes/salsa
Once out of the heat, then add avocado, sour cream, lettuce, and anything else that’s best “fresh”
If you bake the tomatoes/salsa under the cheese, it will cause the chips to get all soft – blah.
To keep clean up easy:
Line your baking dish with foil, parchment paper, or a silicone baking sheet so the cheese doesn’t completely cement to your pan.
I have to admit, writing up this post has made me realize how much I would love to get my hands on some more nachos right now. One delicious baked dish of garden nachos coming up!
Until Next Time!
Kristin
YUUUM
Your experience with nearly throwing up super hot food reminds me of the hottest food I’ve ever had. My husband once made the mistake of getting chipotle peppers that had been mixed with another hotter pepper. Instead of getting just the right amount of heat on our fajitas, we got the most ridiculously hot food I have ever experienced. I couldn’t eat them because they made me sick. Even my husband couldn’t finish them. And that’s saying a lot considering that I think he’s managed to burn off all of his taste buds with the foods he eats. We’re much more careful when buying peppers now.
These nachos look amazing! And now I can’t wait to make some. Nom nom nom.