
Woodworking Craft Leftovers: Building a quick gate!

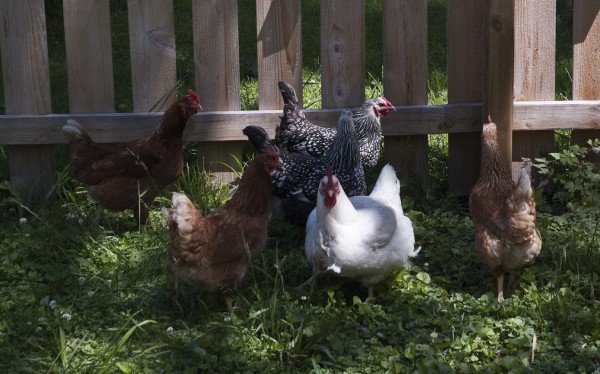
They want out.

He wants in so he can do to them what he’s doing to this bucket. Chewing the crap out of it.
Since we got Bob in March we’ve been doing this shuffling act of letting him out, putting him in, letting the chicken out, putting them up, letting bob out. About 3-4 times a day.
I put up a chicken fence awhile ago, but not only was it not keeping him out (he would either knock it down or just hurdle it), they also would jump or just squeeze out from under it.
After a few episodes of Bob chasing the chickens and me chasing Bob, I knew this “solution” wasn’t a solution at all and I really needed to put up a more sturdy, taller structure.
Read the full story and see the how to after the jump…


I’m not sure if I was being lazy or thrifty, but I really didn’t want to spend any money on this project. I dug around in my garage and found a pile of wood that I had been meaning to build into I’m not sure what. I think my lumber stash is about as big as my yarn stash lately. It was rewarding using up so much of it in one go!
I spent a morning pounding 2×2″ into the ground, topping it off by 1×2″ and stretching the 4′ chicken wire around it. Nice and easy, pretty straight forward though a little crooked, but what about a gate?
I’ve never built a gate before, but I knew that it had to be sturdy enough to deal with Bob jumping on it, putting his paws on it, and generally testing its and his limits. I decided to go with the sturdiest structure I knew, pretty much stretcher bars for a canvas, haha. It’s funny how often I turn to that basic shape – a rectangle with corner braces, and in this case, a cross brace.
Here’s how I built the gate:
Materials
- 2 – 3″ hinges
- 1 – latch + a carabiniere
- chicken wire
- random scrap wood from the garage
- wood glue
- brads or screws
- staples
- miter saw
- staple gun
- brad gun (or a corner brace + hammer and nails)


Kristin Roach


Great job, Kristin:>D I know you’ve been talking about this chicken/dog problem. Check that off the to do list. Looks like a great set up. Love the pics.