Knit Pattern: Thrummed Lady Moss Mittens
This is one of my favorite winter patterns and I still wear them every cold weather season. I’ve also made them larger for Jason which he refers to as his ridiculously warm mittens. It was first published November 11, 2007
I usually start the summer to fall to winter layering with fingerless glove, a light scarf, and a jacket or thick sweater. Then it goes to a hat, thicker scarf, full gloves, and a medium coat. Now I’m moving into the winter coat, thick wool hat, long warm scarf, and thick mittens. There is only one issue. Late last winter/early spring I lost my mittens! What am I to do?
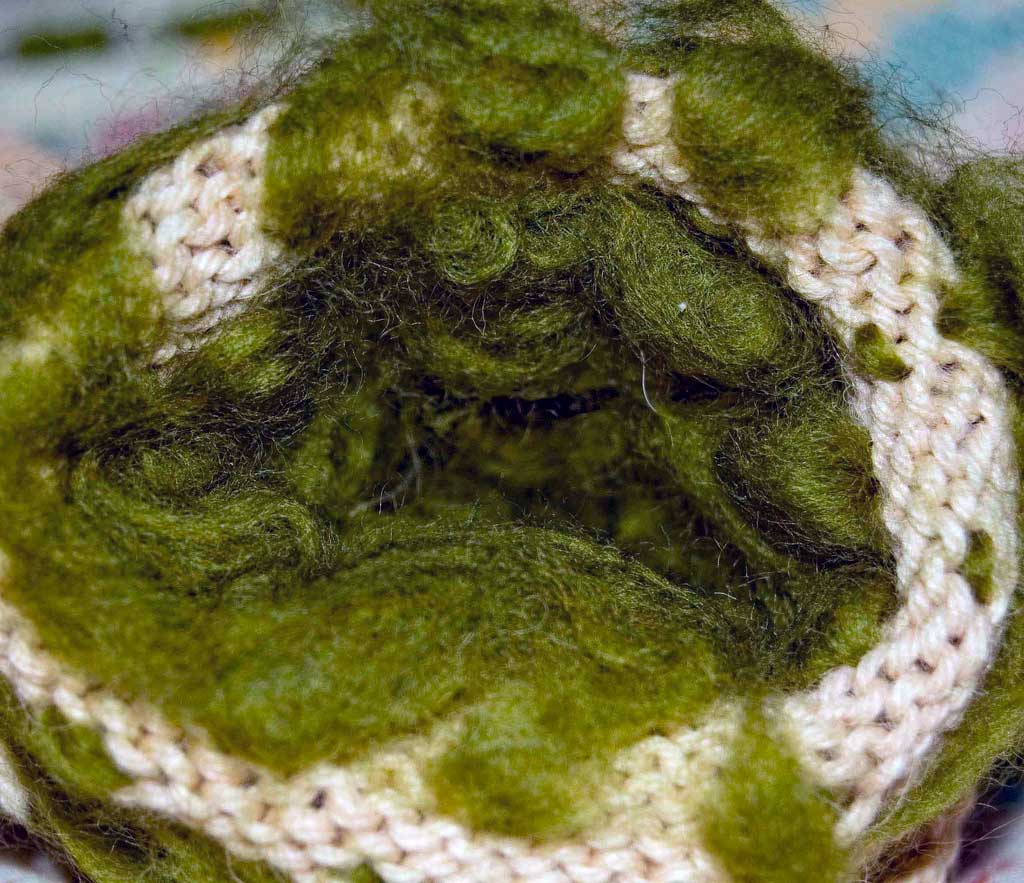
Well how about whip up some new ones with some stash yarn. I’m feeling particularly cold this year and wanted some extra warmth. My friend had just told me about this technique called thrumming. Perfect! Lets give that a shot too. I must say I really enjoy them, they are super warm and really cute to boot! The neat thing is that as you wear the mittens, the roving will felt and it will make a super warm, somewhat water proof mitten. Hooray! Perfect for anybody in the winter.
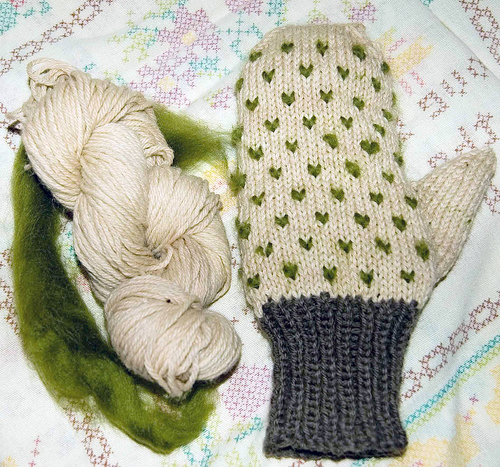
Lady Moss Mittens Knitting Pattern
Ingredients
75 grams worsted merino wool MC
50 grams worsted merino wool CC
25g merino wool roving
Size 3.5mm dpn (US 4); Set of 5
3 place markers
Notes about the yarn choice: I used yarn that was my first shot at natural dyeing with lettuce. It didn’t turn out so hot, but with the green roving in there, it perks right up. I would say that Cascade 220 would be similar in weight and texture.
Gauge 22sts x 30 rows = 4” x 4” in stockinette stitch
 Abbreviations
CO = cast on
CC = contrasting color
St(s) = stitch(es)
rnd = round
MC = main color
K = knit
P = purl
Kfb = knit through the front and then the back of the same stitch (increase stitch)
Pm = place marker
M1 = make 1 st
Ssk = slip, slip, knit (Decrease stitch)
K2tog = knit 2 sts together (Decrease stitch)
BO = bind off
 Thrumming When knitting in the roving, just use a thin teased out piece about the length of your pinky. When you get to the stitch that is done with the roving, place your main color yarn over the needle as if to knit, then loop the roving over the needle next to the MC yarn, knit the stitch. On the next row knit the roving and the MC yarn together as if one stitch. If you work them separately you will make an increase.
Directions
CO 36 sts with CC and arrange evenly on 4 needles; 9 sts on each needle.
Join in the round and work 1 x 1 rib (K1, P1) for 3 inches.
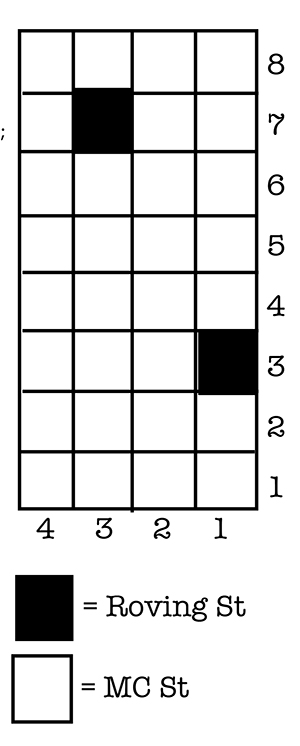
Change to MC and start working the chart.
Rnd 1: (k1, kfb, k to last 2 sts on needle, kfb, k1); K1, kfb, k2, kfb, k2, kfb, k1; repeat ( ) 2 more times; 45 sts on needles.
Start of Thumb Gusset
Note: Work chart, but skip over the gusset stitches and continue chart after the second place marker.
Rnd 2: Knit 22sts, place marker, m1, k1, m1, place marker, knit to end.
Rnd 3: Knit all (as in knit all stitches in round three).
Rnd 4: Knit 22sts, slip marker, m1, knit to pm, m1, slip marker, knit to end.
Rnd 5: Knit all.
Repeat Rounds 4 and 5 five more times – 14 rounds worked.
Knit all for three rounds.
Repeat Round 4.
Knit all one round.
Knit to marker, remove marker and place gusset (stitches between the two markers) on to scrap yarn, remove second marker, knit to end.
Knit all until piece measures to just above the little finger.
End on row 1 or 4 of the chart. The remainder of the mitten is worked with just the main color.
Decrease Round
Rnd 1: K1, ssk, knit to the last three stitch on needle two, k2tog, k1; k1, ssk, knit to the last three stitches of needle four, k2tog, k1.
Rnd 2: K all.
Repeat Rnds 1 & 2 two more times.
Repeat Rnd 1 until 20 sts remain.
Arrange sts evenly on 2 needles and use the kitchner st to BO all sts.
Thumb
Pick up sts on scrap yarn and arrange evenly on 3 needles.
Rnd 1: K to end of needle 3, pick up and k one st at gap between needle 3 and 3.
Rnds 2-6: K all.
Rnd 7: (K1, k2tog, k to end of needle) repeat to end.
Rnd 8: K all.
Repeat rnds 7 & 8 two more times.
Cut yarn and thread through sts on needles, tighten up the hole and weave in all ends.
Repeat all steps for the second mitten.