Tutorial: Polymer Clay Kawaii Toast
I love toast! I was freaking *de-light-ed* in Chicago and went into a japanese toy store and saw Kawaii Toast! So cute! Love them! But I didn’t really want a keychain. Or a coin purse. I just wanted a little toast to bring me joy and hang out on my shelf.
So, surprise surprise, I made it myself! And here’s how you can too!
Materials Needed
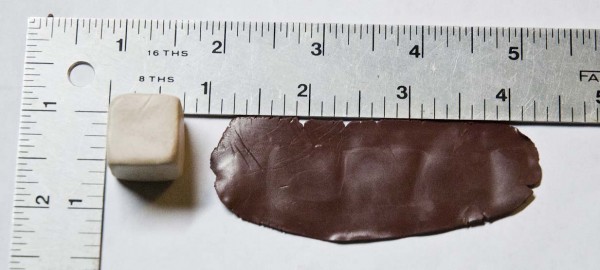
- 1/2 inch cube of light brown polymer clay
- 1 X 1/4 inch piece of dark brown polymer clay
- Black and white acrylic paint
- Tooth pick or straight pin
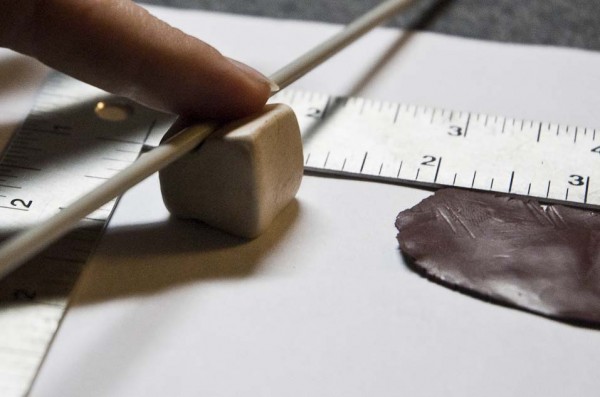
- And optionally you can use a knitting needle (size 4ish) to make the “bread” impressions on the toast-y roll.
Step One: Make the cube
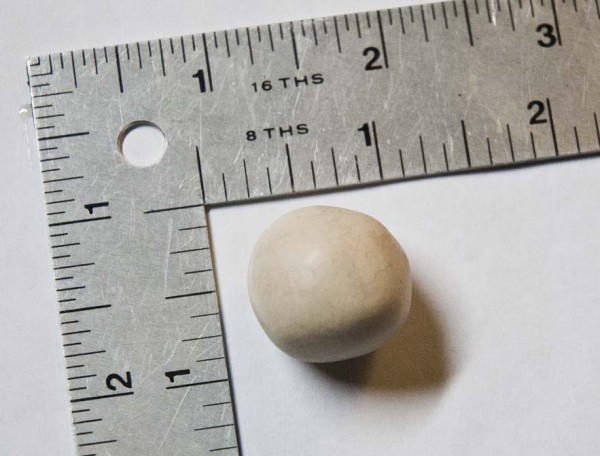
If you’re breaking the clay off the block, go ahead and roll it into a ball and soften it up a bit.
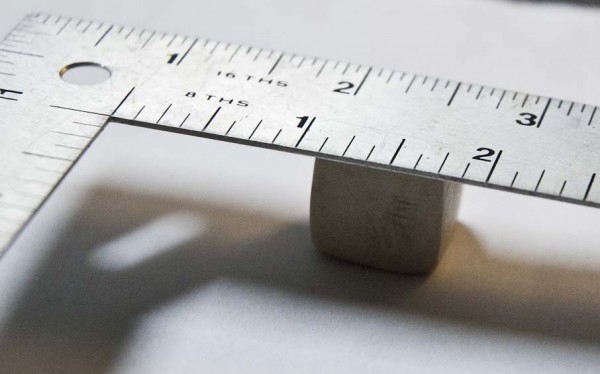
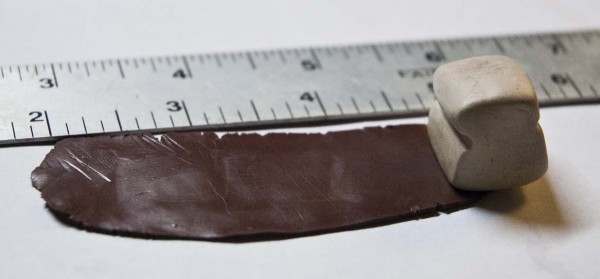
Then use something nice a flat (like this handy ruler I have here to show you scale) and press each side down until you have a nice even cube.
Step Two: Make the Crust
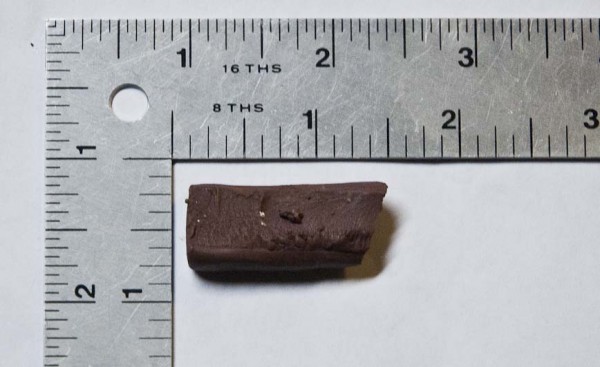
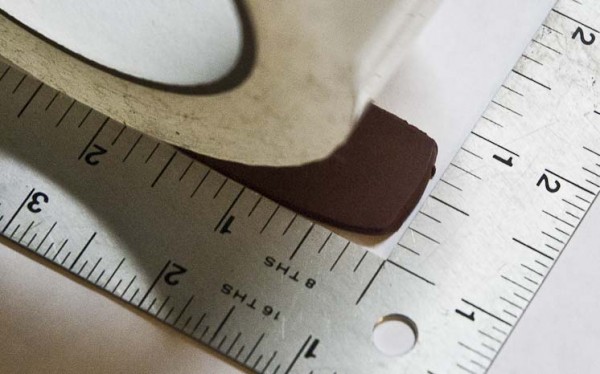
Take the dark brown clay and use a round object like my fine roll of tape or a highlighter until it’s about 3 – 3 1/2″ long and evenly thin.
Step Three: Bread Impressions
Use the knitting needle or a rounded toothpick to make impressions on two sides of the loaf so it looks more breadish.
Step Four: Attach the Crust
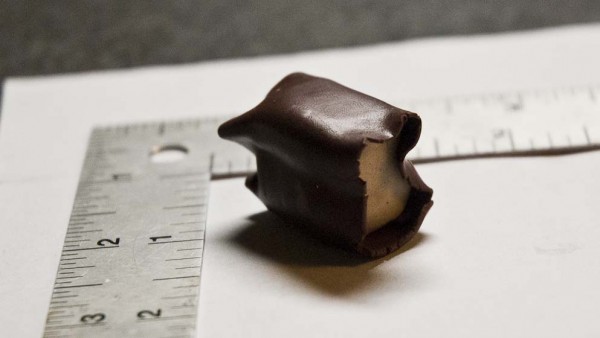
Place the bottom of the loaf on the edge of the crust and roll it into the crust. Gently press the crust into the bread impressions and give it a good pat all around to make sure the crust sticks to the loaf.
Step Five: Sliced Bread!
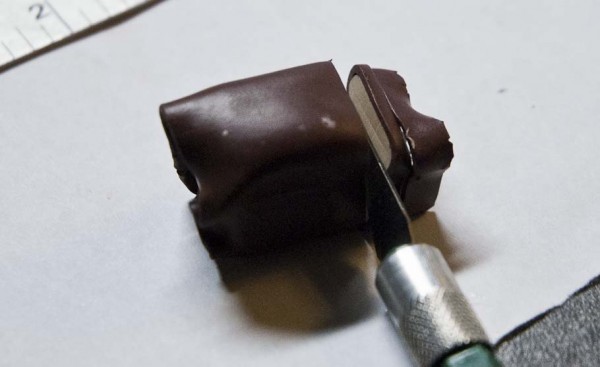
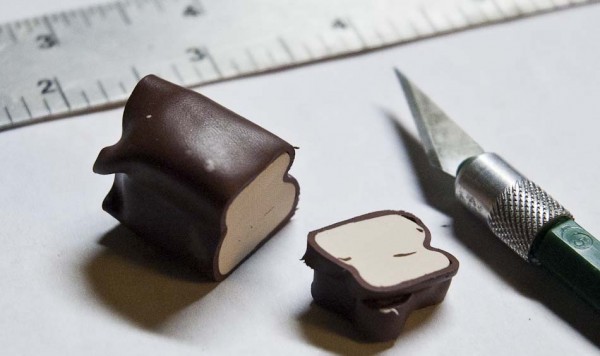
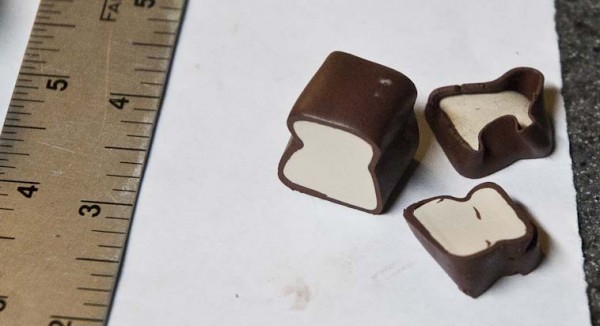
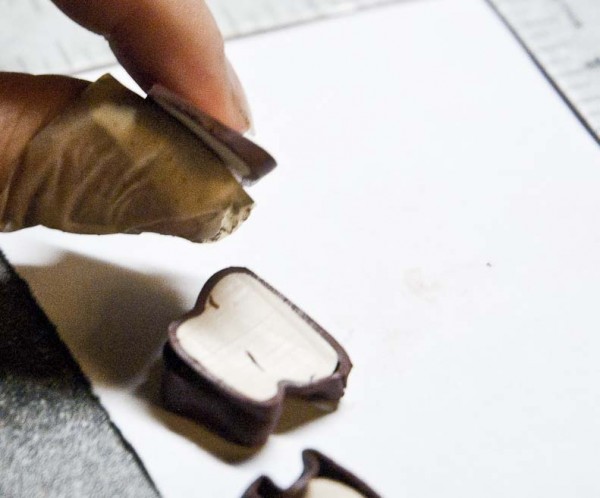
Use a sharp craft knife to slice the ends of the roll off. Then slice the bread into equal portions. I cut my polymer clay bread just like I cut real bread and I got a few thick to thin pieces in the mix.
Don’t do that! Ha.
Step Six: Bake
Follow the instructions that came with your polymer clay to bake it.
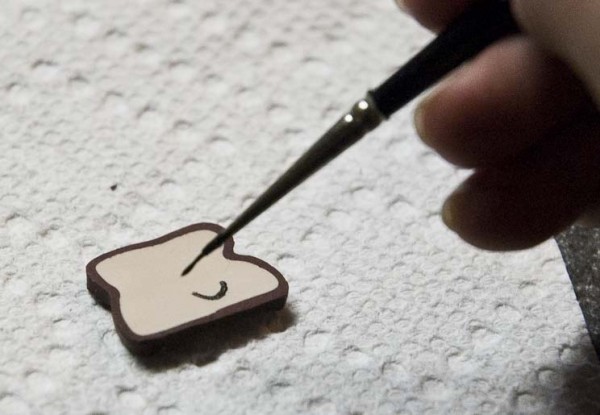
Step Seven: Painting on the face
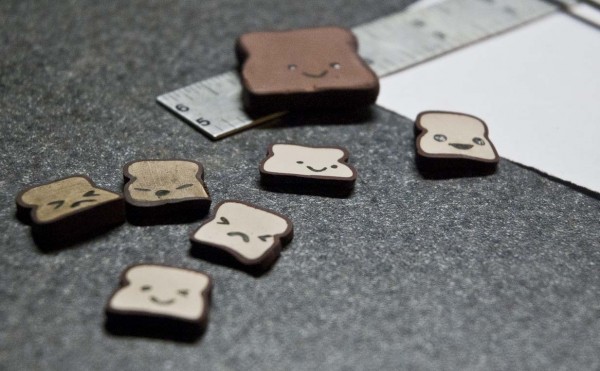
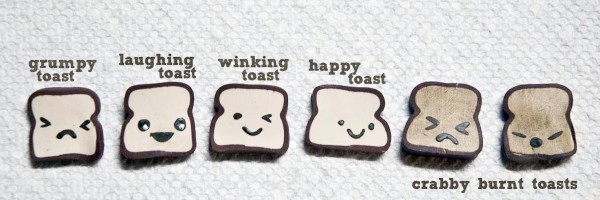
Use the polymer clay to paint your toast’s face. Is he happy or sad? Maybe he’s a smug toast. Maybe he’s burnt toast!
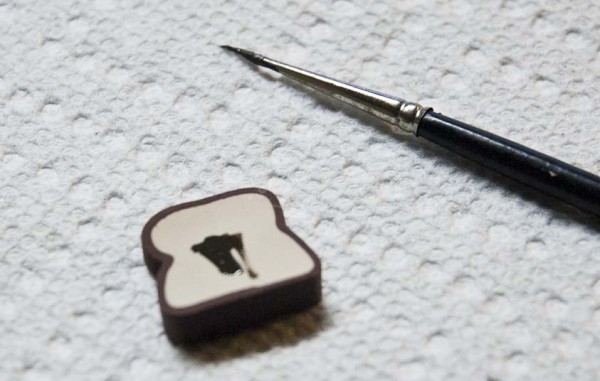
Optional: Make Burnt Toast
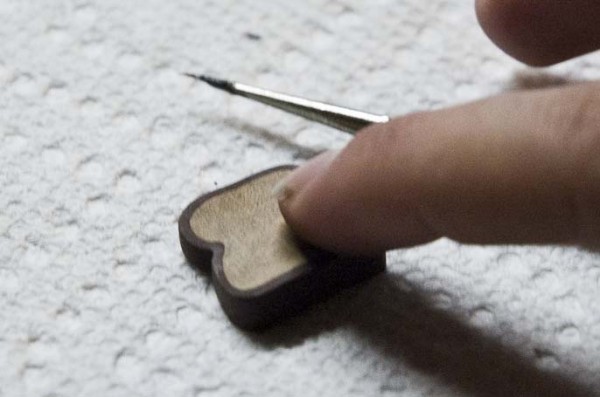
Dab a little brown paint on the baked toast.
Rub it with your finger. Done.

Happy Crafting!
Kristin Roach



This is too cute!!!!!
Those are soooo adorable. As a toast lover, I will have to make some of these and put with my TOAST book.
This is adorable! My son adores toast…I think I need to make them as a surprise gift! Thanks for the great idea and tute!!!
Sooo cute thank you for sharing!