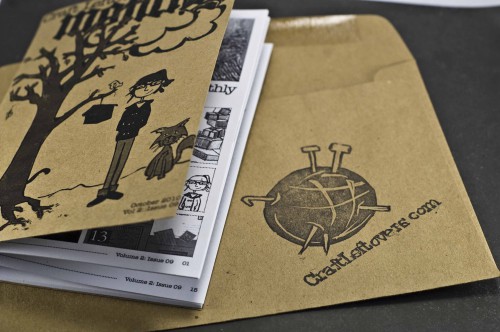
For a long time now I’ve wanted to make a stamp (or label) that I could mark every craft leftovers package with. I was thinking the Craft Leftovers name or the yarn ball logo or both.
First I tried just carving a linoleum block, but that didn’t really have the ease of use I was looking for – though I do love my yarn ball block. It was two hard to use on a rubber stamp pad, so I had print it just like any regular ol’ block print.
Hmmm, I thought maybe in the stamp aisle of the craft store they would have “make your own stamp” kit, nope. I finally did track one down in the print making aisle at hobby lobby. But it was really expensive. Then I realized, hey, I have that type of carving block in my stash of print making supplies.
So here is what you need to make your own stamp that can be used with any regular ol’ ink pad along with a few substitution options if you don’t want to get the ez carve block.
Materials
- 1 – EZ Carve Block (dick blick or mastercut brand works well)
- 1 – carving tools, or an X-acto craft knife works well
- Fine tipped marker (like a Sharpie or prismacolor marker)
- Pencil
- Wood block 1/2″ X the dimensions of the stamp you make (mine ended up being about 1/2 x 4 x 4″) – birch plywood cut down works nicely, I had some scraps left over from some paintings I did.
- Wood block 1/2 x 4 x 2″
- 5 – 1/2″ nails
- 5 – 3/4″ nails
- Small hammer
- Wood glue
Directions
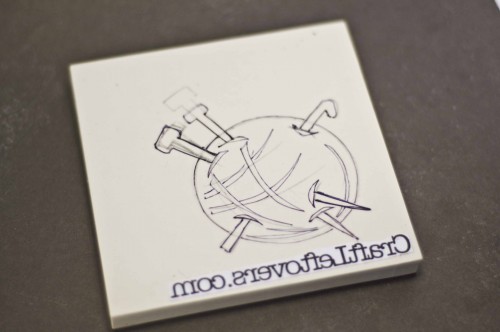
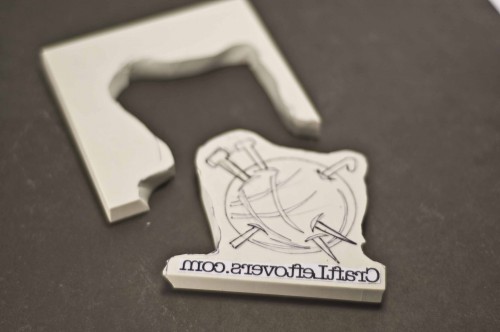
Step One: Draw out the design of your choosing onto one side of the block. I wanted some text, so I printed it out and used a glue stick to attach it to the block. It’s tricking carving text so don’t go too small if you opt to include some in your own design. Position your drawing in one corner of the block to preserve as much scrap block as possible. I want to make some other fun little stamps with the leftovers from this later :)
Step Two: Use the X-acto knife to cut the design out from the larger block. Don’t go right up next to the design, leave at least a quarter inch.
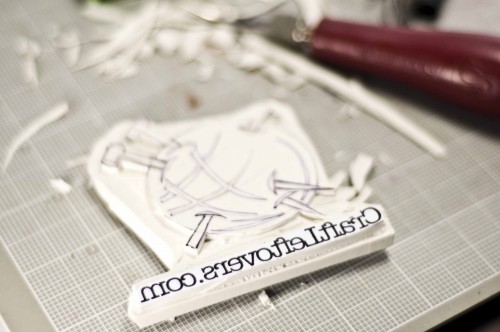
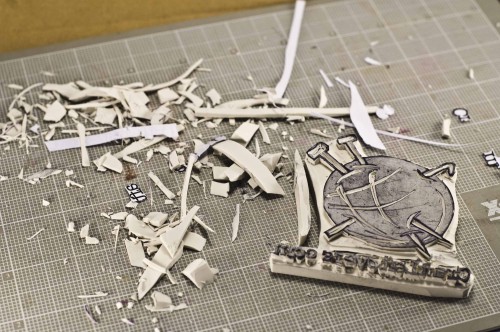
Step Three: Carefully carve the general areas out of the block. I like to make a smooth cut along the edge of the design, and then carve up to that point. It helps to keep the block from tearing or splitting into the design. As advertise, these little blocks carve up like butter, which is great, but also a little tricky to control sometimes.
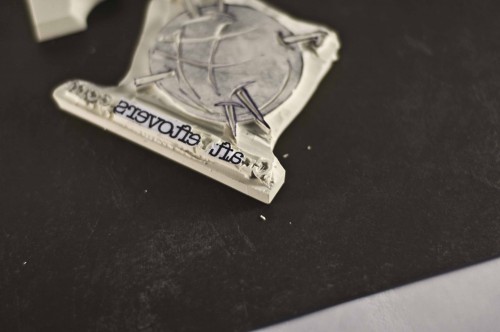
Step Four: Details. There is no other way to do it than the tried and true method of going slow, be patient, and don’t cut deep. Just a little bit at a time, cut closer and closer to the design. With the areas where there’s paper, I “traced” the letters with the X-acto knife and then used my smallest carving tool to carefully sliver away the block.
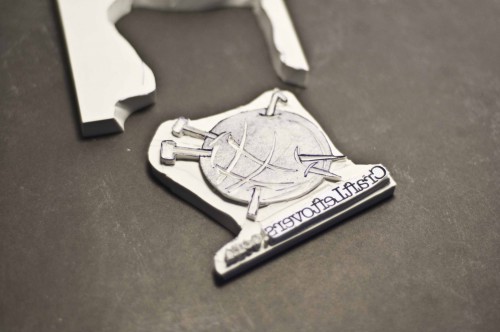
The yarn ball took about 15 minutes, the letters = 2 hours. So worth it though. I love the handmade feel.
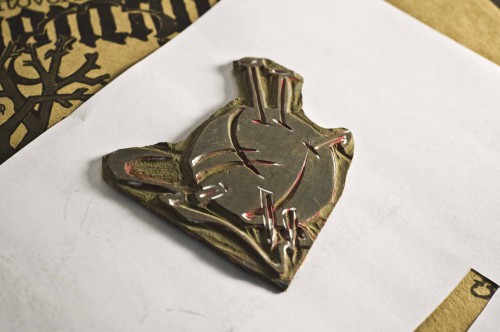
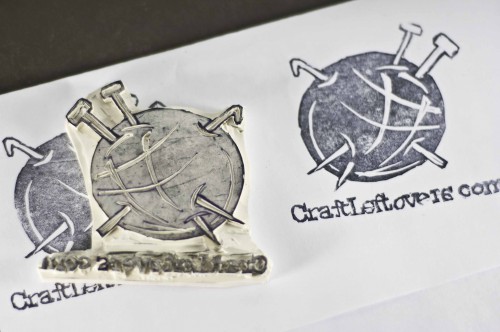
After you carve out all those little pieces, ink it and stamp it. Cut more into the block until it’s just perfect.
More alterations and ta-da!
Mounting it: Let’s make it long lasting!
Then it’s time to mount that baby. Mounting the carved stamp will help it to last longer. The ez-carve blocks are really floppy and flexible, so any find parts (like the letters of the tips of the knitting needles) will eventually crack off or the block may split – no good. Plus mounting has the added bonus of making it even easier to stamp with! And it’s easy, so why not right?
Step One: Find a piece of wood you would like to use for your mount. I used birch plywood, but really, anything will work pretty okay. I like the 1/2″ thickness, but more because I have a load of it than it being the best thing for
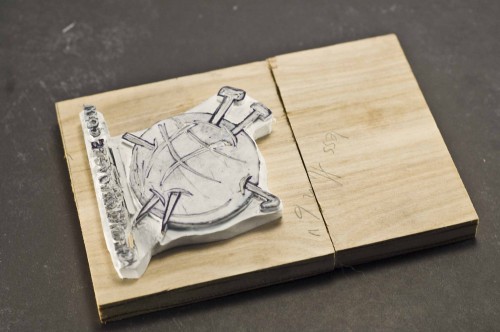
Step Two: Lay the carved stamp on the piece of wood and measure out where you need to cut down the wood. Since I was using a little piece, I just needed to make one cut.
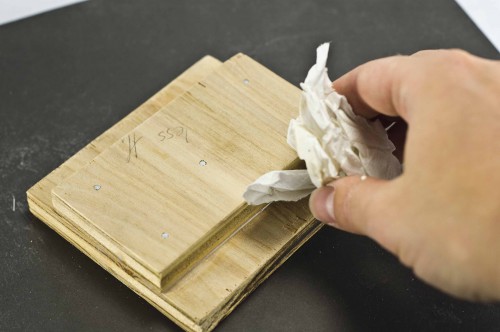
Step Three: Take another piece of scrap wood that is smaller than your mounting piece (I used the scrap from my cut), smear some wood glue on one side of the small piece, press it to the back side of the mounting piece, and nail it in place using the 3/4″ nails, this is your handle. Clean up the wood glue with a damp paper towel before it dries.
Note: At this point, you can seal the wood with any kind of water proof latex paint (exterior house paint works great, and the miss-tint pints are really cheap). That way when you wash your stamp, the wood will stay protected.
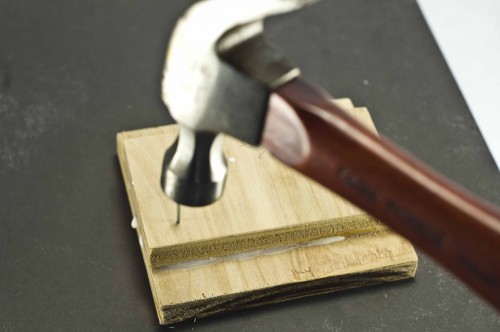
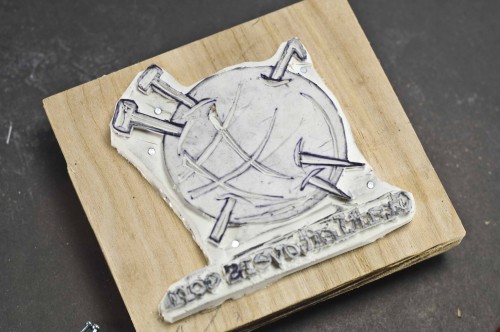
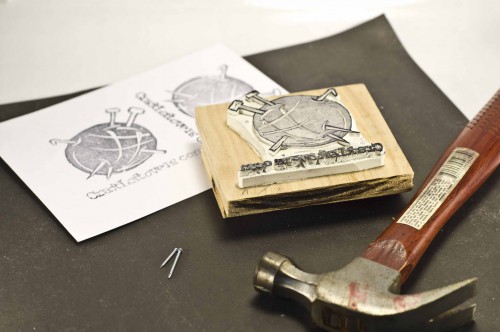
Step Four: Put a few beads of glue on the back side of the stamp and press it against the block. Lay the piece stamp side up and nail a couple of the 1/2″ nails through the stamp in the recessed area.
And the great thing about using these blocks, is you really can use any stamp pad, making it much easier to use than a lino block – and a lot quicker to dry.
Happily, from now on, every package leaving my studio will have a Craft Leftovers stamp on it. Hooray!
Happy Crafting!
Kristin
I can’t wait to carve up a few of my own stamps. Thanks for the tutorial.
That is so neat! I just need to screw up my courage now and give it a shot. Thanks for posting this!
Wow, this is so well explained. And your stamp came out great. Now I want to make one! Thanks so much, I’ll be linking.
This is really an impressive stamp! Recently I have been carving stamps from erasers with our homeschool art class. It is so much more fun than I imagined it would be! The children love it!
This is great, I’ve carved some stamps but was worried about attempting text. You did a fabulous job.
I whimped out and ordered a custom one on Etsy but thanks for sharing and showing it can be done! Maybe I’ll get brave in the future :)