
Apartment Redress :: Sewing Chair Part I
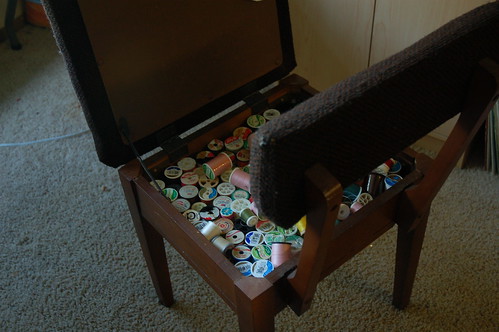
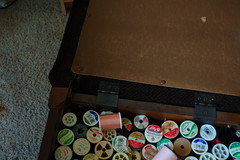
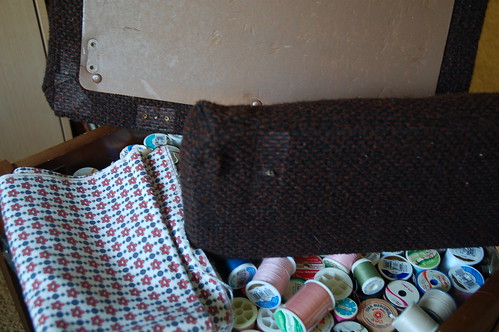
I forgot to show you the best part about this chair! And here it is, hidden spool treasure.
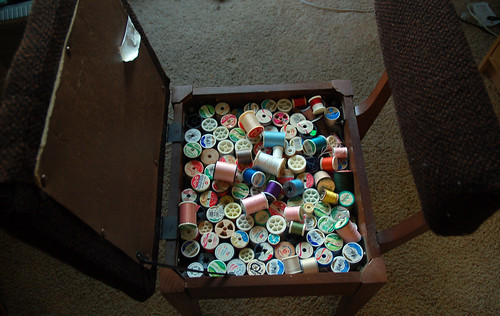
Most of these spools were actually my grandma’s. I have long been out of grey, tan, white, and black sewing thread, but I have just about every other color in the rainbow! I do go through a lot of grey thread. It’s my favorite to sew with.
These are the different hardware parts of the chair. Things I will have to unscrew, pull out, replace to get at the fabric. My goal is to keep the fabric as in tack as possible so I can use it as a template for the new fabric.


Unscrewing the hinges and such.

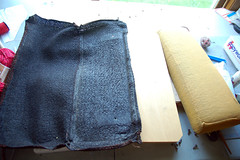
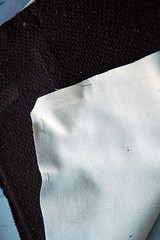
And here it is taken apart and with the fabric I mentioned on Tuesday.
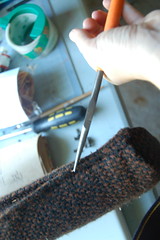
I used needle nose pliers to pull out all the staples.

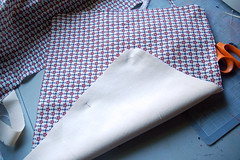
Then ripped out the side seams and pinned it to a piece of leftover canvas that I had from painting.
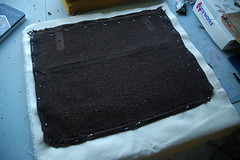
Trimmed around the edges and repeated with the canvas pinned to the feedsack fabric.
Always make sure to iron all you fabric before you pin and cut it. I, cough, tried to iron the vintage fabric I pulled from the chair and umm… well it’s about 100% plastic and I now have 100% plastic on my iron to clean off. Haha. So it goes.
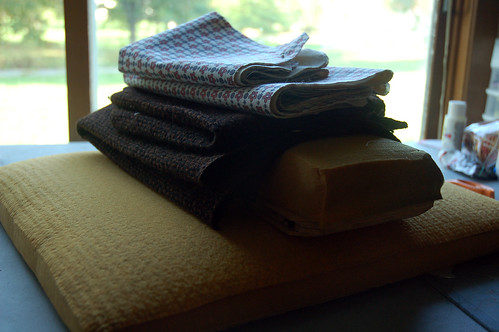
I think I might try to replace the foam as it is old and kind of smelly and has no spring to it. I have a huge wedge in the garage I’ll try to cut down. We will see how that goes. So the next steps will be cutting the foam down, finding my staple gun, doing a little sewing, and then putting it all back together. I am pretty hopefully I get that all done tomorrow. You see I have some extra motivation to get this done quickly: I really miss my chair already!
You can see all the pictures of this project here. And all the project shots from the Apartment redo here.
Here are some great How To Tutorials on the topic of upholstery:
This one was the best I found for my type of project. It’s a video by ReadyMade. I love that magazine!
A great yardage chart for figuring out how much fabric you will need for your project.
Here is an article on How to Reupholster Furniture, it has some why you should, what you need kind of info.
Reupholstering a Dining Room Chair.
How To Reupholster a Drop-in Chair Seat (video, kind of like the ReadyMade one)
How to Reupholster a “tight seat” chair – “Learn to cut around frames, lay in pleats, blind tack, layout fabric , use nail tack strips and ply-grip, and more upholstery tricks.” This is the kind of chair that will be my next re-upholstery job.
How to Reuphoster a sleeper chair – this has a lot of really nice progress shots.
A Weekly DIY Roundup: Couch and Chair Re-Upholstery over on threadbanger by Lee.
And if you are looking for a bit of inspiration, check out Design Sponge’s Before & After.
++++++++++++++++++
In other news, there are more new kits in the shop today. And I think that’s about it for today. I’m going to go finish up my dinner (French Onion Soup in the slow cooker for the first time, let’s hope it goes well!) and then work on the pattern for tomorrow. Fun fun crafty time for me!
See you all tomorrow!
Kristin

Hi Kristin,
Just wanted to tell you how much I love your apt. remodeling projects. I also love your grandmother’s sewing chair. Its going to look so nice too when you get it finished, I can’t wait to see it. I have a feeling I will need your remodeling tips when I get home. ha!
Kristin, how in the world did you sneak MY sewing chair out of my house without anyone noticing? That is my chair exactly, except I keep odd trims and ribbons and elastics in my seat! It never occurred to me to reupholster it, but what a great idea! I would also love to put wheels on mine, but I’m afraid that would make it too high…for me anyway. Can’t wait to see it finished.
MGM
That is awesome! I need to do this to my chairs.