
Wet Felted Ornament Experimentation

It’s been quite awhile since I played with wet felting and things, so I thought it would be a good idea for me to get the kinks worked out of my memory before possibly teaching a workshop on it next weekend.
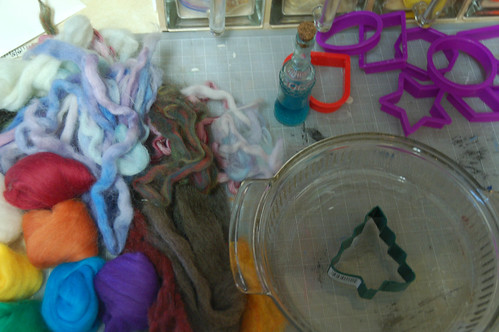
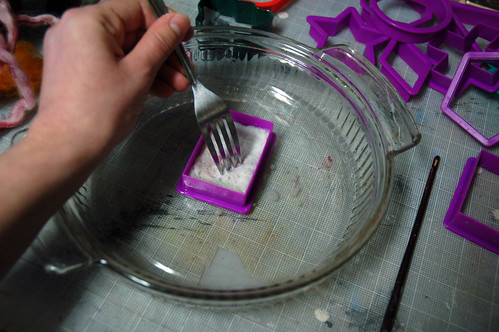
I grabbed cookie cutters of all shapes and sizes, a little soap, some random bits of leftover roving that have piled up in my stash, a dish to work in (I think pie plates work great for this), and you can’t see it here, but an electric tea kettle full of hot water too.
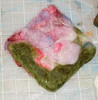
I picked through a bit of roving and pushed it into the cookie cutter.
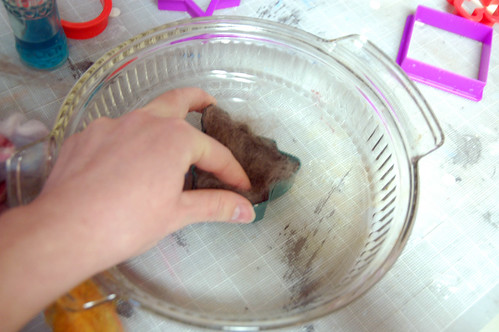
Put a little soap on.
Which turned out to be Way too much soap.
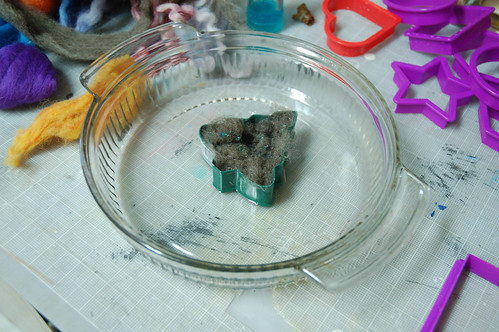
And so I redid these first steps with just a rectangle shape and instead of going soap and then water I did water and then just a touch of soap (like I dipped the tongs of the fork into it and that was it). Then I mashed around the roving in the cookie cutter with just a little bit of hot water and the touch of soap.
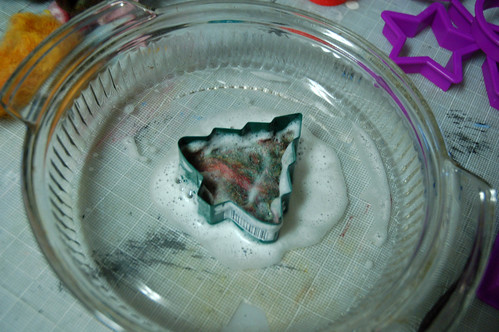
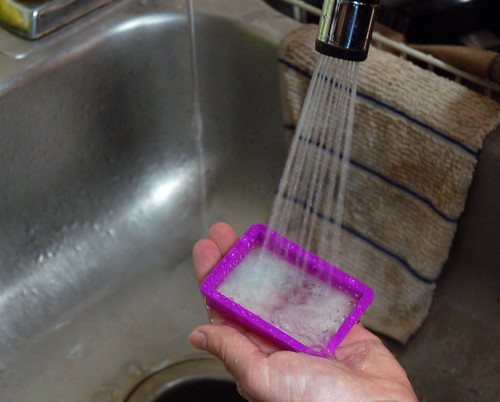
I rinsed out all the soap with hot water, flipped it over, repeated, then spayed both sides with cold water.
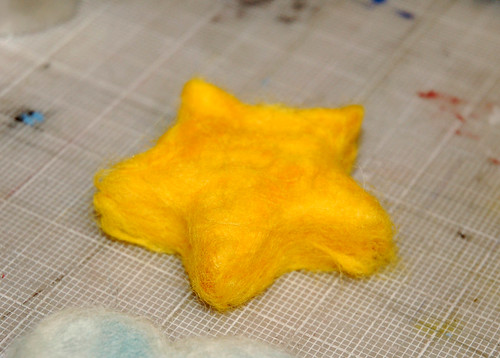
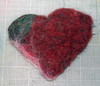
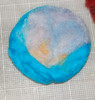
I just gently pressed the water out and laid it out to dry. I tried out quite a few different ways of working and after doing about 5, the 6th one, the star, turned out pretty well. It’s nice and thick and felted all the way through. Perfect. The snowman turned out well too. I’m going to embroider them before putting them up onto the tree. I think just a little ribbon will do the trick for a hanger for them all.

So some of the things I learned:
When using cookie cutters for wet felted ornaments, more is really better. Really push as much roving as you can into the cookie cutter shape.
If you want to have multiple colors, add them all in at the beginning before you get anything wet, it’s hard to work new colors into an already felted surface. I think needle felting would be perfect for adding in other colors after your base is dry.
Hot water opens up the fibers, soap helps them to get all messy and party with each other, and cold water shocks them back together permanently — that’s what creates a felted fabric.
I found this great print out for felting over at Felt Cafe: Felting 101. I really like her shop and her website, you should definitely take a look at both.
+++++++++++++++++++++++++++
Thank you for your get wells. I’m happy to report that I really do. I had today off work so I slept in late before getting all my errands done. It was a really nice and relaxing day.
I’ll see you all on monday! Oh and check out the shop because I will be putting new things in tomorrow night after dinner.
Keep it crafty!
Kristin

I haven’t been able to read Craft Leftovers for a while so as I sat eating my lunch today I was able to enjoy both food and catching up with you. I downloaded the snowflake pattern. They are beautiful. I said awww how adorable to Molly and the cat hoody. Felt bad for the bad egg episode but laughed at the video. Loved the ideas of glueing the ornament back together. Wish I would have talked to you before I threw away the broken tea cup. Also thought how beautiful the ornaments are. I am glad you are getting the felting down before you teach your class. I knew you would. Last I also wanted to mention that you need to to put your rice filled handwarmers in the shop. They are SOOO wonderful. I heat them up put them in my mittens and am out the door to walk the dog with toasty hands that stay warm for the 20 – 30 minute walk. Thank you soo much for them.