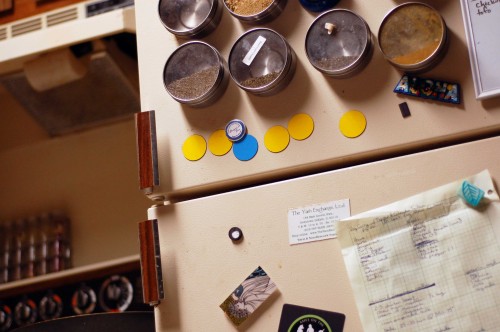
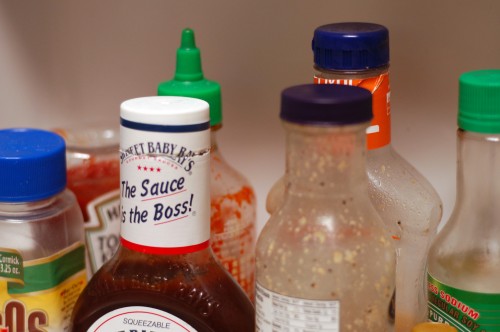
You won’t see my fridge at it’s worst because before I decided to write this post, I already sorted out all the rotted nastiness and gave it an initial wipe down. Now that I’m out of “half past overwhelmed” mode, I’m getting back to my weekly routine of cleaning out the fridge, finishing off any leftovers, and making up my grocery list. What I did with the fridge was the first step. Once you deep clean it, a weekly trash and swipe down will keep it clean for a very long time.

Why bother? Well, there are a couple of reasons.
1. It’s easier to cook when you know what you have–spoiled food does not count as a potential ingredient.
2. I’m more inclined to cook when I can access what I need without it being next to a rotted apple. That brings up another point.
3. Rotten food promotes more rotting. You put a fresh pint of strawberries by a moldy lemon, those strawberries will get moldy twice as fast.
4. Food poisoning. Let’s face it, sometimes we forget when we cooked what. Tt may smell okay because it’s so loaded with curry and garlic, but once in our bellies, well, our stomach is pretty smart and rejects it quick. No one likes that. Keeping the fridge clean prevents that from happening.
5. More room for the things you do want to eat. It’s nice to have enough space to put that gallon of strawberries that will soon be rhubarb-strawberry pies. Before I ditched the spoilage, that wouldn’t have been possible. Just like everything else, clutter takes up room we could be using for living.
7 Steps to a lasting clean fridge
1. Throw away all expired food.
Nothing makes me literally want to vomit more than spoiled food. A weekly toss helps me gauge if I’m buying too much food, eating our leftovers, or having wild success by not having anything to toss. It’s kind of a little game Jason and I play. If we toss a lot, we lose. If we don’t have to pitch any rotten lettuce or molded over cheese, we win! Silly I know, but I swear there is a deep satisfaction that comes from not wasting food.
2. Take out the Trash.
After emptying the contents of all the moldy who-the-heck-knows-what-that-was-maybe-chicken dishes, take out the trash. If you are really bad (ugh, I have been this past month), that odor will get out of control so fast. Take out the trash, just do it.
3. Wash the Dishes
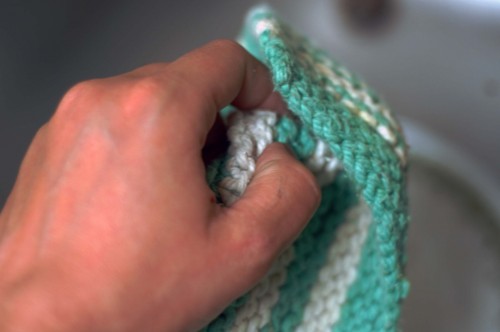
Fill one sink with the hottest water your tap will produce and a load of dish soap. Drop all the dishes in there and let them soak. By the time the water is cool enough to submerge your hands into, all that nastiness should be loose and easy to clean off. You might want to whip out a handmade dishcloth for this task. Rinse them all off and set aside, but do not drain the sink.
4. Pull everything out.
If it’s been awhile, this is really the best way to do it. Just get it all out there, I swear, it won’t take long to finish up now.

5. Wipe it all down.
Now, with your handy handmade dishcloth, use the dishwater to wipe down all the drawers, shelves, and sides. If need be, pull out the drawers and fill them with a little hot water and soap too. Empty the sink and rinse out your dishcloth. Then go over the whole thing again with the rinsed out dishcloth and a dry towel.

6. Load it back up.
Now put everything back in so it’s in just the right spot. There are a lot of benefits to checking in on your fridge each week and they can be related back to crafting. Just like checking in on your stash, you will forget what you have if you can’t see it. Unlike yarn, food spoils. So a weekly check in prevents any one mystery container becoming too much of a mystery.
Now why do we need another step, why the 7 steps and not just 6?
Well, that’s the eternal part.
Step 7: Weekly Maintenance.
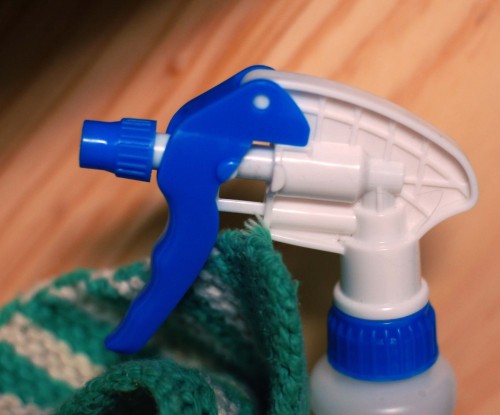
Each week pick a day and give your fridge a check up. Root around, open lids, check dates, and toss what needs tossing. If anything has spilled, just give it a little spritz with some vinegar water and wipe it down. If you do this each week, you won’t have to deep clean your fridge ever again.

Now I can look in my fridge and know exactly what my options are. No more “Is that spaghetti still okay to eat?” or “I’ll have a cheese quesadilla for dinner” only to find the cheese is moldy. The worst? Pouring cream into my coffee only to have it curdle. No thanks. Done with that for sure!
So how do you tackle your fridge? Do you attack it shelf by shelf when it gets out of control, or dive in all at once like me? What always seems to rot before you can eat it no matter how many times you try to use it all?
Happy cooking!
Kristin Roach
[ad#Adsense-post]
[ad#Flattr]

I have another easy suggestion to add to help keep the ick-factor at bay – mark those condiments! We keep a sharpie/permanent marker in a magnetic cup on the side of the fridge, and when I open any jar or bottle that will be staying around (mayo, ketchup, pickles, salad dressing, pre-grated Parmesan cheese, etc.) I write the date on the label – that way I know the answer if something may or not be funny because of how long it has been in there…
Also don't forget to wipe off the rubber seals for the doors to the fridge and freezer so they close properly, sealing up your nice clean fridge :)
I do a big grocery/veg shop once a week, and before putting all the nice fresh veg away, I empty out the crisper section, give the crisper bins a wash (if needed), discard any dodgy bits, and then put everything back – if I try to do this each time (well, okay, most times), it is pretty quick and easy – especially as supplies are usually low the day of my shop.
Unclutter just posted a great little post on keeping the fridge tidy or “to keep it from looking like it was hit by a small tornado” https://unclutterer.com/2010/06/02/organizing-yo…
Unclutter just posted a great little post on keeping the fridge tidy or “to keep it from looking like it was hit by a small tornado” https://unclutterer.com/2010/06/02/organizing-yo…