When I first thought of making my own zine library I was at a loss as to what would fit them all. How could it look good and be functional? I thought it would be kind of neat to make a series of small boxes that would hang on the wall in a modular fashion–little boxes for little zines and bigger boxes for bigger zines. I just wasn’t sure how to do it. After a couple of weeks of searching, looking, and scrawling out ideas in my sketch book, I got it down perfectly.
Check out parts 1 and 2 of this post series:
- Zine Library Part 1: Getting Organized & Getting Inspired
- Zine Library Part 2: Organizing Ideas from the official libraries
Now the cool thing about this is not only are these boxes easy to make, but the size of each box will be custom for each type of zine you are holding.
I’m going to show you how to make a box for Volume 1 and 3 of Craft Leftovers Monthly. The zines are 4.25″ wide and when all stacked together, are about 2.5″ thick. The interior space of my box will be 4.5″ wide by 3″ deep.
Materials Needed:
After making the chicken coop this summer, we have loads of wood leftover, so that’s what I’m using as my main material.
- A crap ton of zines – grouped by size or series
- Wood scraps – I like 1/4×3″, you can get it at the hardware store or craft shop in 30″ lengths.
- Paint or stain to treat the wood
- Wood glue
- Brad gun if you have one using 1/2″ brads – I do not so I used a hammer and 1/2″ nails (little skinny ones)
- Corner Brace
- Angle
- Frame wire and 1/4″ screws OR frame hangers (the little saw tooth ones)
Step One: Measure all your zines and decide how you want to group them together. I decided that I wanted make my boxes by series and size.
- A big series of zines like Craft Leftovers and Tangle Crafts Zines get their own box.
- Everything else is by size. A little box for little zines, a bigger box for big zines. You get the idea.
Step Two: Cutting the wood.
- I like mitered edges because it gives your boxes a nice clean look and makes them pretty strong.
- And seriously, measure four times and cut once.
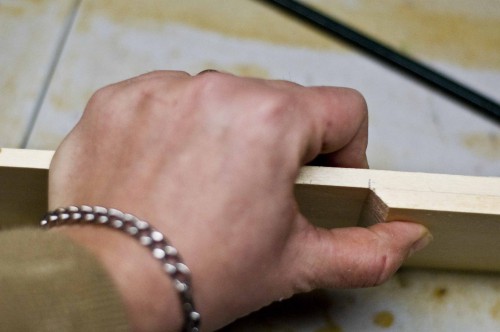
- And remember, your box has five sides: left, right, back, front, and bottom. The left and right and the back and front need to match. So cut your first piece, then use that as a guide to cut your second. You will see what I mean in the pictures.
Here’s my cut list for my Volume 1 Box:
- 2 – 1/4x3x3.5″
- 2 – 1/4x3x5″
- 1 – 1/4x3x4.5″
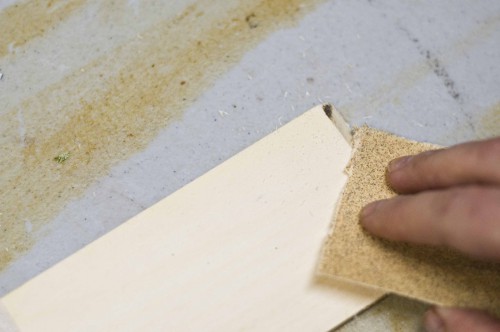
And don’t forget to sand everything down:
Step Three: Assembly Time
a. Smear a bit of wood glue on the cut ends that you will are joining together.
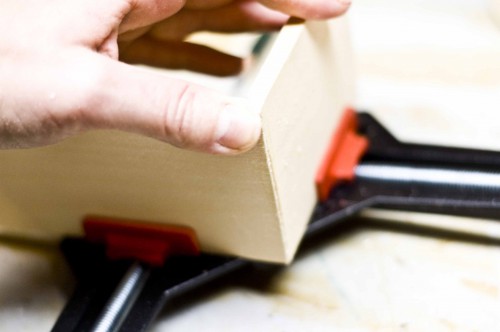
b. Place two sides together and use the corner brace to hold them in place – this cheap-o tool is top of my list for making corners a snap – and use the angle to square it up and make sure it’s 90 degrees.
c. Hammer in four nails – 2 in one side and 2 in the other.
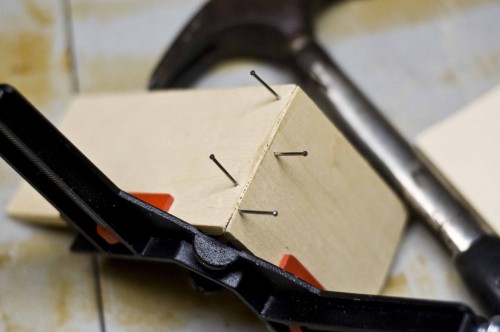
d. Work clockwise around your box, gluing, holding, and nailing in place until you have completed square.
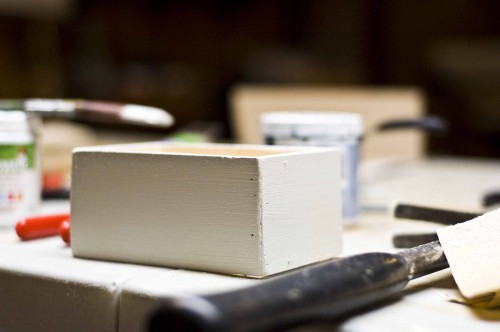
e. Slip the bottom piece into the box to make sure it fits. Too big is better than too small as you can sand it down to fit. Use wood glue along the edges of the bottom piece and fit it into the bottom. Nail it in using a nail every 2 inches – the bigger the box, the more nails needed.
Tip: If, like me, there was no easy way to cut down a piece exactly, fit it in, glue and nail. Then take a piece of mat board or card stock and fit it to the inside of the box. Glue it inside the box so the bottom is completely covered.
Step Four: Finishing!
Don’t you dare just toss your zines in here, this is the part that makes these boxes really shine.
a. Sand down each box to remove any burs, snags, and splinters. Also use sanding and a little wood glue to cover up any gaps in your corner joins.
Note: To make a little wood putty, mix sawdust from when you cut your wood down and some wood glue together and fill in the gaps. Sand it well to cover it up.
b. Wipe it all down with a damp – not wet – cloth.
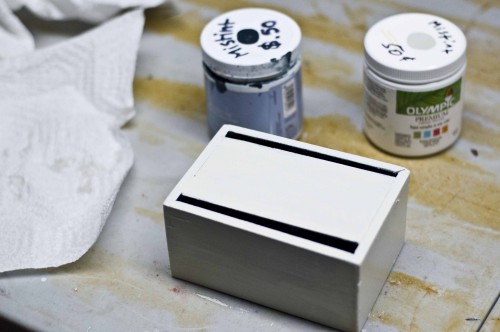
c. Paint with spray paint or whatever can-o-paint you have around. If it’s nice wood, consider staining and/or varnishing it. Sand it with fine sanding paper (200) between each coat for a very nice looking finish.
Step Five: Hanging it up.
You can hang up your boxes a few different ways.
- If you know they won’t be loaded with zines, you can use frame hangers – the little saw tooth ones or the wire.
- If you will be packing this thing full, you can screw a small piece of wood into the wall, and then screw the box into that, along with one last screw going through the back of the box.
- Or you can drill two holes in the back of the box and use that to hang it on two nails (so it doesn’t rock back and forth). If you do this, make sure your box is very centered.
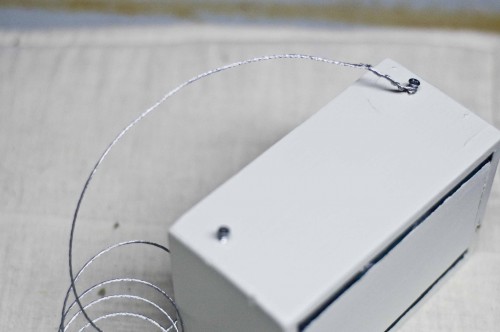
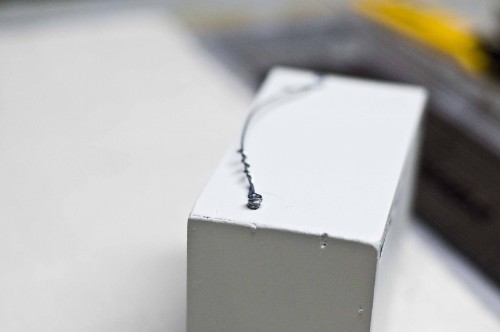
- Personally, I like the wire method best. Since I know the weight distribution will be changing around a bit, and these are no where near my heaviest painting, they are a-okay to use. Instead of using eye-screws though, I used two small screws, wrapped the wire around them, then screwed them in more to clamp down the wire. This makes it so the box is nice and flush to the wall.
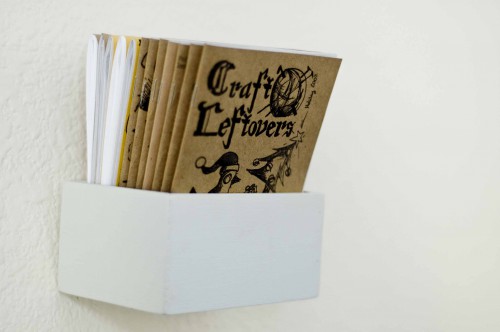
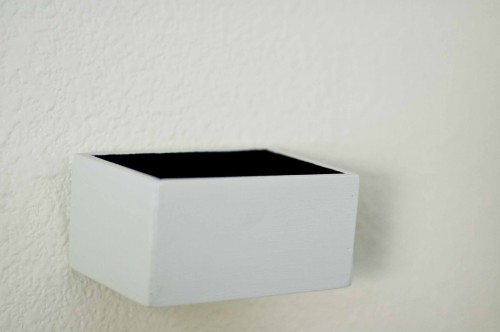
I’ve made a few of the boxes now (one), but not nearly as many as I would like to (twelve, haha). It will take some time, but I will get them all finished and hung up. Right now it looks like this:
Hehe, I have quite a few more to make indeed. I’ll update this post when I get the wall all the way filled with zines.
Happy crafting!
Kristin

I love it! Their own little spot and it’s super cute! Thanks so much, I’ll be linking.