Repair a Vintage Project Basket
Special thanks to a Facebook message that let me know the pattern link was broken for the Vintage Project Basket. Now that it’s fixed, let me share with you this project that still has a home in my studio. If you would like to read the original posts, visit Part 1, Part 2, Part 3, and Part 4.
Kristin M Roach
Very similar to the story here on Vintage Knitting, my basket is old and broken down and it doesn’t stand up (I have it propped open between the couch and the side table, nice right?). But I really like it. It was my grandma’s. I want to keep it around a few years longer.
I started out by removing everything from the basket and storing it in a bin. You see it was full of all my WIPs – a sock, a glove, an etc…. you get the idea.
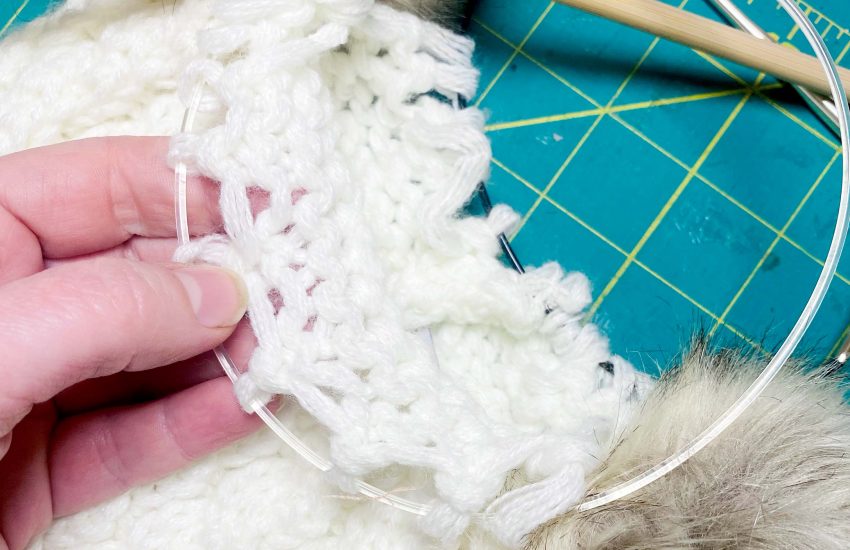
I decided I’m going to just make a pattern from the fabric and remake it completely. The first step was taking off all the fabric and ripping out all the seams. It turned out this bag has a really neat construction and so I made notes on how to put it back together.

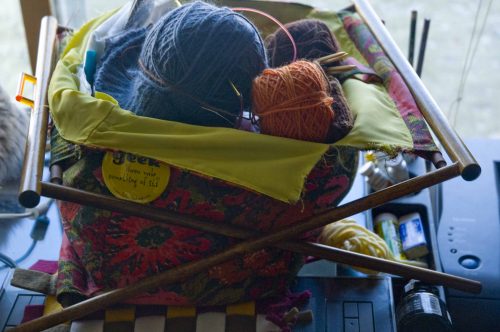
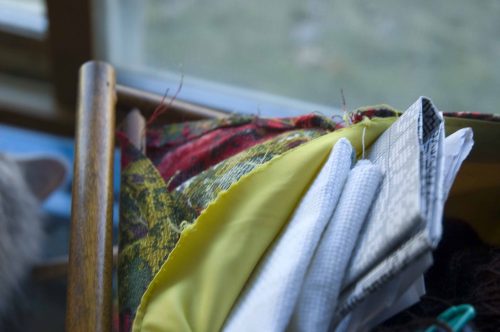
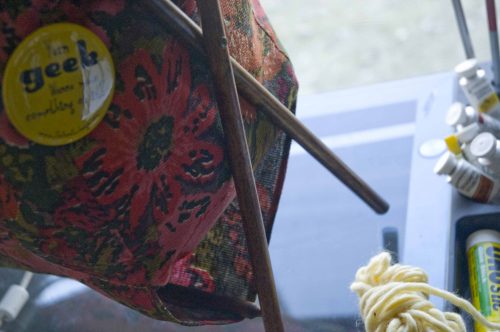
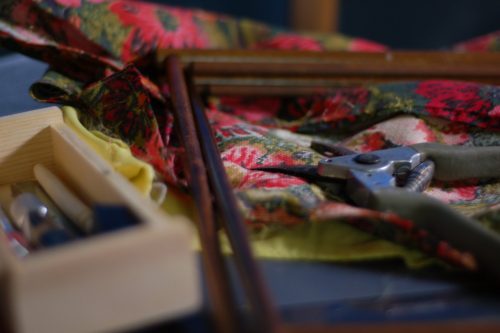
Then I had to turn my attention to the frame itself, which was missing one of it’s rods that helps to hold the basket open to a certain width. I happened to have a doll rod about the same size and I cut it with my garden shears and then whittled the ends so it fit in just so.
Good as new! Well, good enough for me. I’m not going to bother staining it right now as stain is expensive and it’s just one little post. I don’t think it really needs protection from anything anyway.
Replacing the Fabric Liner
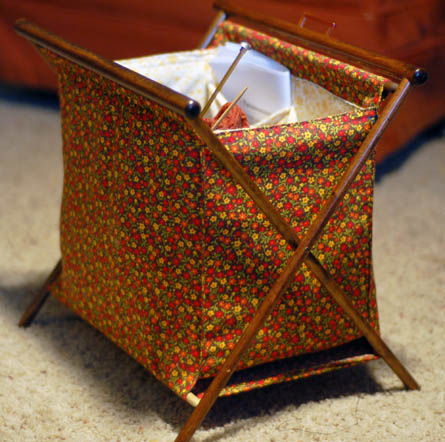
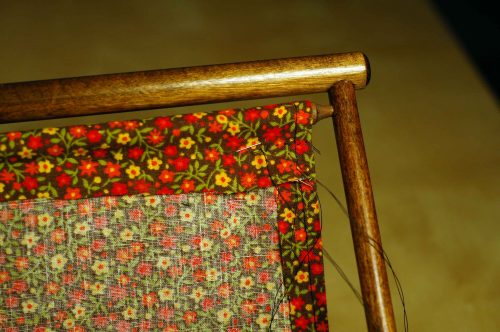
It took 6 hours of handwork on this great little guy and it’s was around 12:30 when I finished up. I thought it would just be 2 hours of hand sewing, oh how I underestimate things like that. So, took a day longer than I thought. But…. TA DA! Done! Isn’t it cute!
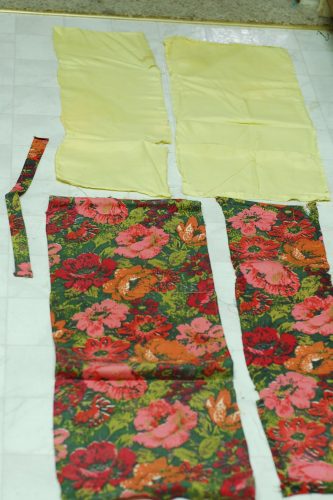
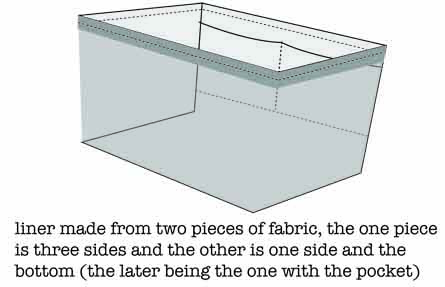
I found this great fabric in my stash that I think is actually from the 70’s and then the liner is an old table cloth. It was a really neat construction method actually and I was able to do machine sew the liner completely. You see the pockets are done like this:
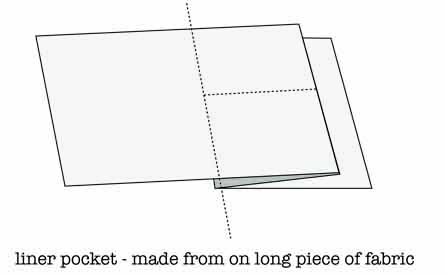
And the liner goes together like this:
The outside of the bag was less complicated, but needed to be sewn directly to the frame, so I machines stitched all the edges that wouldn’t been later sewn into a seam and then got to work stitching it all together:
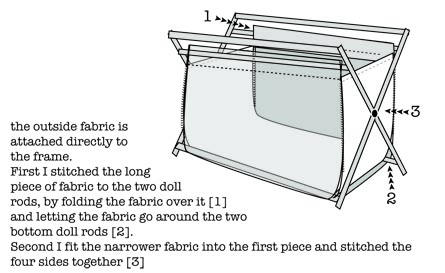
And then I dropped in the liner and stitched that to the outer part of the knitting basket:
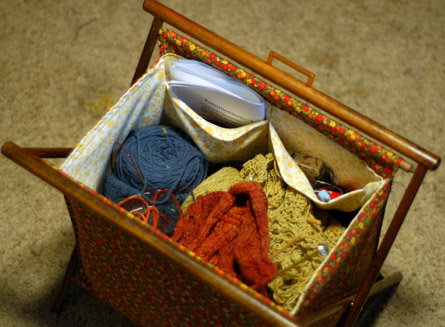
And finished!
Is your favorite vintage project basket in need of an overhaul?
Download the pattern for the fabric liner and more tips by clicking here for a printer friendly version of all the instructions:
Until Next Time!
Kristin M Roach